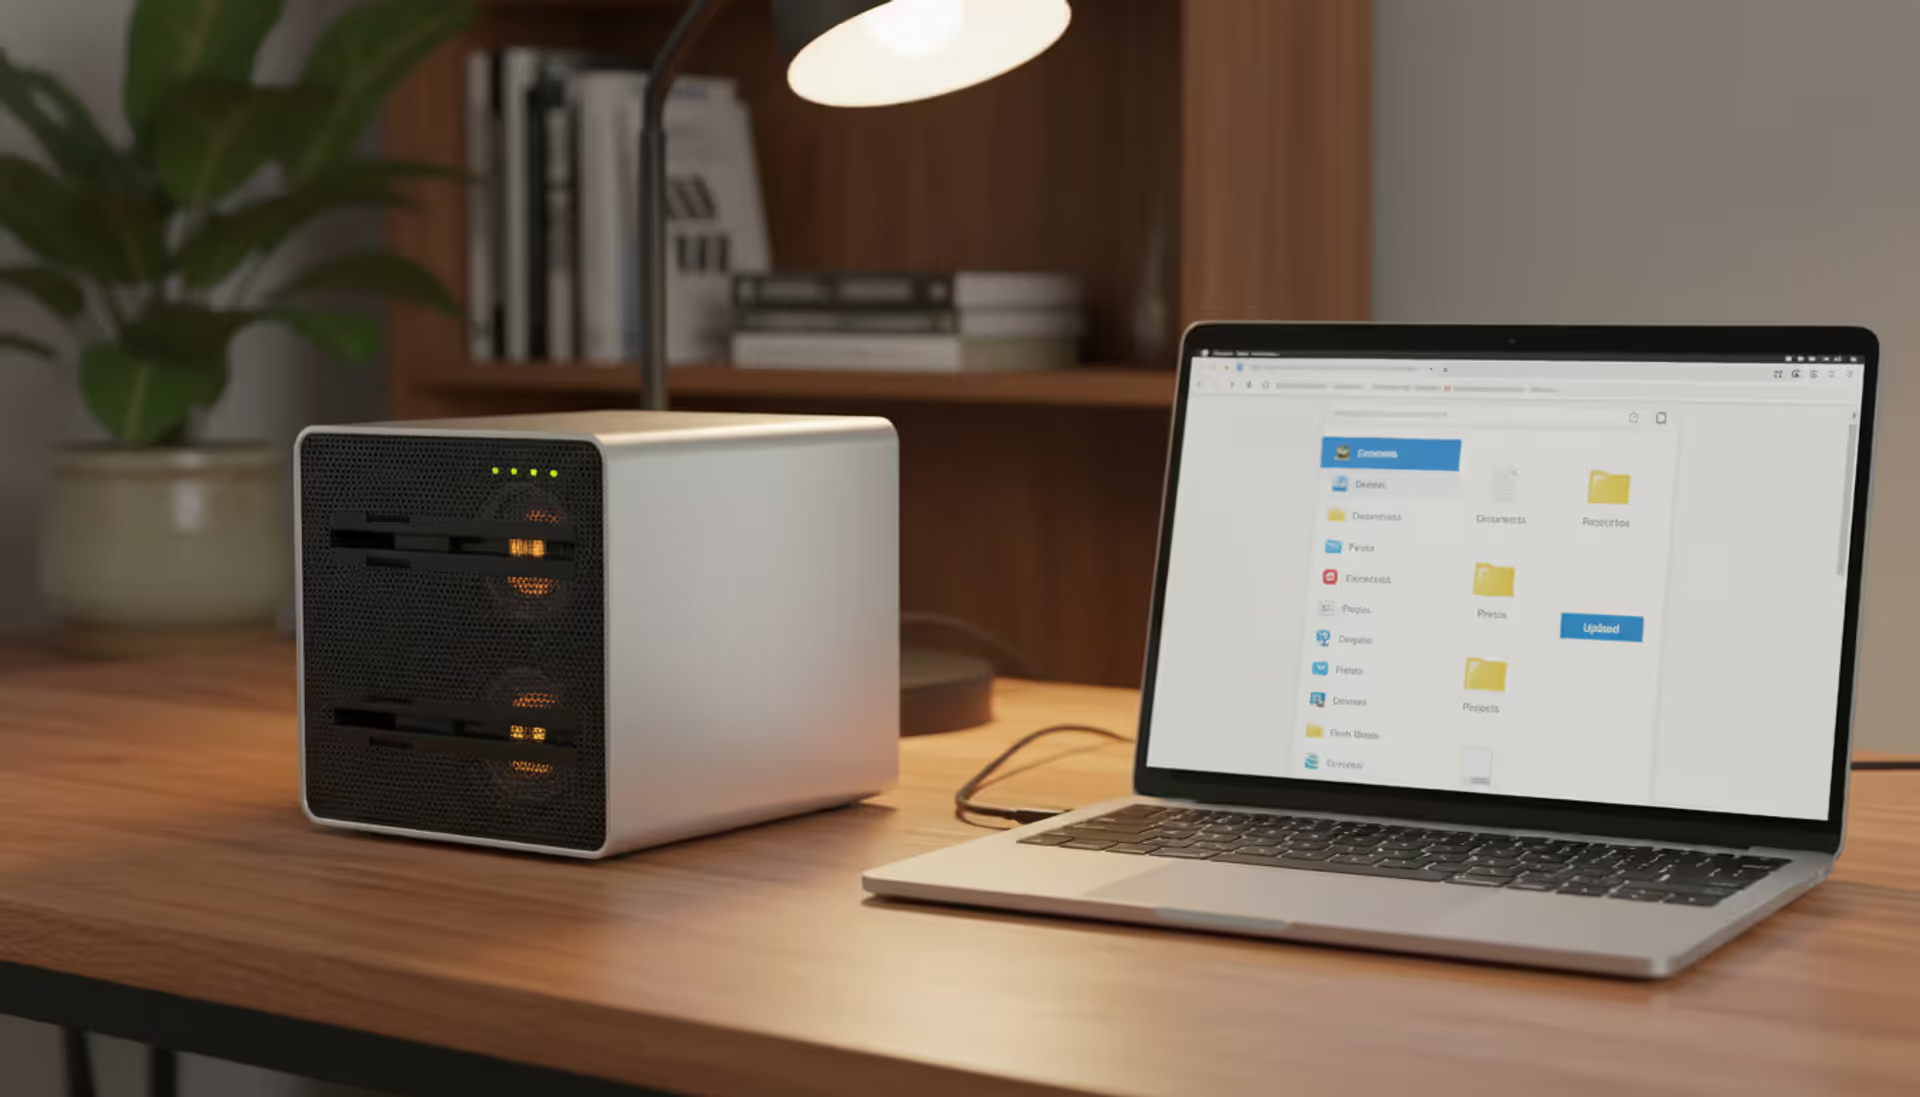
Tired of shelling out money to Google or Dropbox every month? Building personal cloud storage might sound like something only IT professionals tackle, but here's the reality: if you can follow a recipe, you can set this up. By this time next weekend, you could own the hardware, decide exactly who gets access to your files, and wave goodbye to storage limit warnings forever. I'll walk you through everything—from choosing what to buy to pulling up your photos from a coffee shop across town.
Why Build Your Own Cloud Storage Instead of Using Commercial Services
Start with your wallet. Google wants $9.99 monthly for 2TB of storage space. Over twelve months, that's $119.88. Stick with them for five years and you've handed over nearly $600. Here's what happens with that same money: grab a refurbished computer for $180, add two 8TB drives at $200 each, and you're looking at 8TB of mirrored storage (or 16TB if you skip the backup redundancy). The real magic happens in year six—Google still charges you, but your hardware just keeps running. Maybe you'll pay $30 yearly for electricity. That's it.
Now let's talk about who's reading your files. Commercial services run algorithms across everything you upload. Your documents train their AI systems, your photos feed their advertising profiles, and when law enforcement comes knocking, these companies hand over data without calling you first. Control the physical server? Nobody else touches your stuff. Period. Those wedding videos stay between you and whoever you choose. Tax returns? Yours alone.
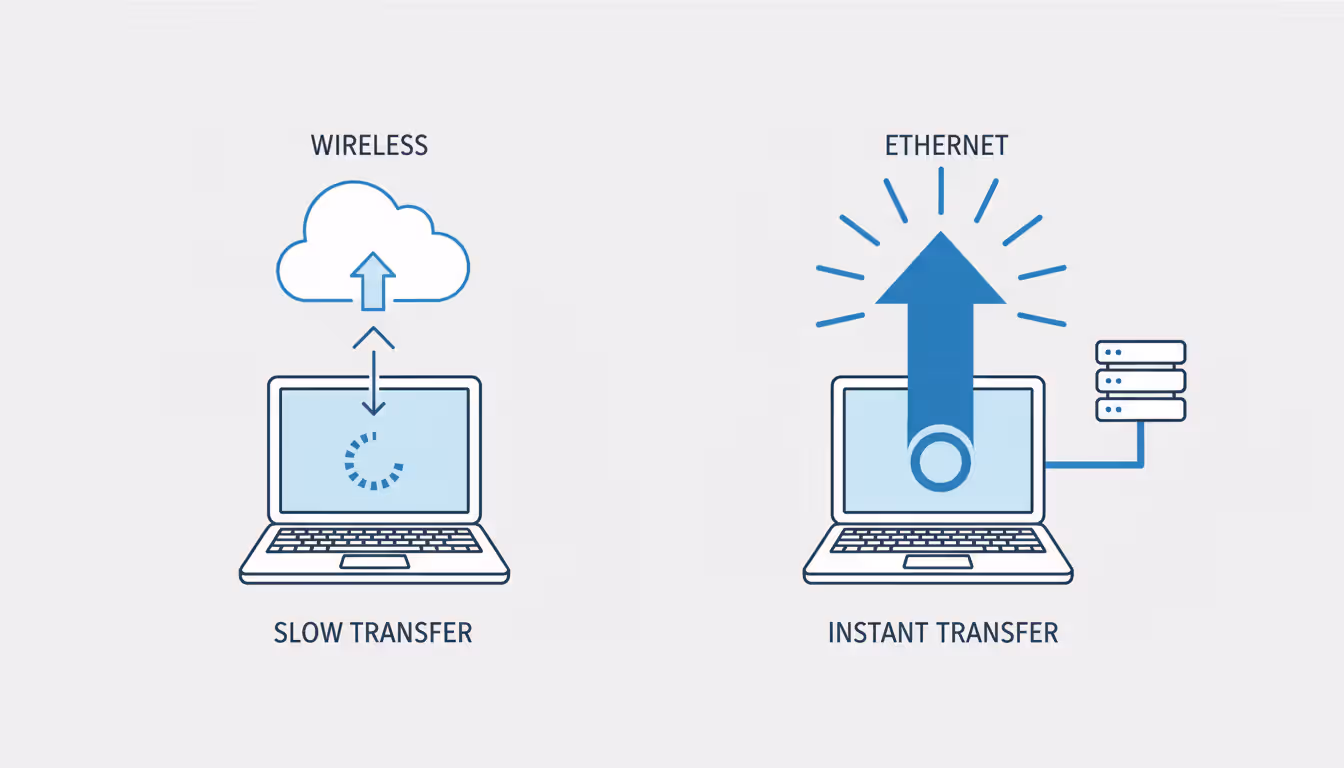
Speed tells another story. I tried uploading a 50GB video project last month on my 100Mbps connection. The upload speed caps at 10Mbps, which meant watching a progress bar for over 11 hours. Same file to my local server? Two minutes flat on gigabit ethernet. When you're moving massive files regularly, this difference completely changes your workflow.
Real talk though: you're signing up to be your own IT department. Drive dies at 2am? You're ordering a replacement. Security vulnerability gets discovered? That patch won't install itself. Commercial providers employ entire teams of engineers preventing disasters around the clock. Your success depends on how thoroughly you plan things.
Author: Evan Crossfield;
Source: milkandchocolate.net
This makes sense for: - Photographers generating 500GB+ of raw files annually - Small business owners needing secure team file sharing - Anyone genuinely worried about corporate data harvesting - Families wanting centralized storage everyone can access - Technology tinkerers who enjoy this kind of project
Hardware and Software Requirements for Personal Cloud Storage
Your cloud needs a computer running 24 hours daily. Forget those enterprise server images with blinking lights—tons of successful setups run on hardware already sitting in your closet.
Minimum Hardware Specifications
Real-world testing shows what actually handles typical use:
Processor: Dual-core CPU from roughly 2014 onward (even old Core i3 chips manage multiple simultaneous users without sweating)
RAM: 4GB runs basic setups fine; jump to 8GB when three or more people will hit it at once
Storage: Two drives at minimum (because backups matter), 2TB each covers typical family needs
Network: Gigabit ethernet connections—wireless technically works but you'll curse it during large file moves
Power supply: Calculate total drive wattage requirements, then add 30% breathing room
Can you go cheaper? Absolutely. Raspberry Pi 4 boards cost $55 and handle Nextcloud reasonably well. Transfer speeds land around 35MB/s rather than 100MB/s, and five simultaneous users will overwhelm it, but for personal document storage? Works fine.
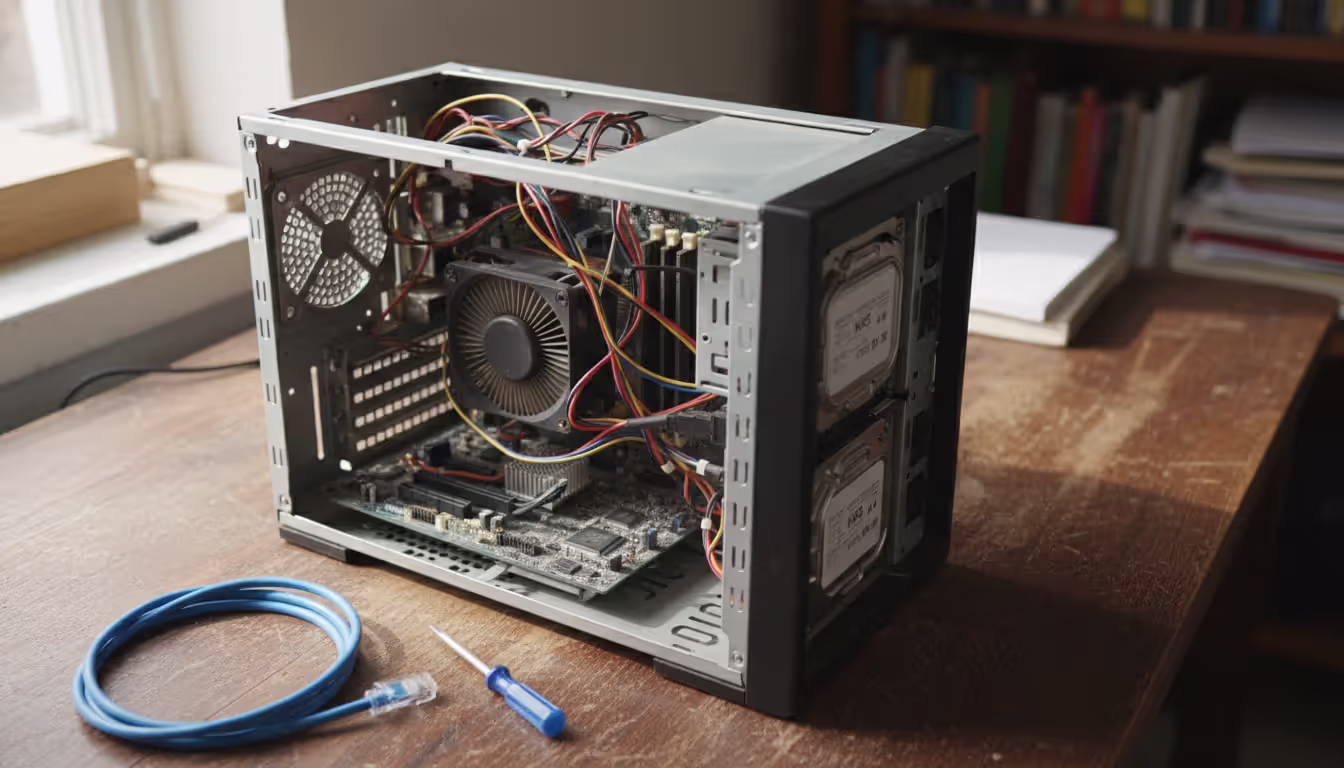
The smartest budget move? Hunt through your closet for old computers. That desktop from 2018 you upgraded last year? Probably packing a quad-core processor and 8GB RAM. Wipe the drives, install fresh storage, and congratulations—you've built a cloud server for the price of two hard drives.
Purpose-built NAS boxes from Synology or QNAP run $200-400 before adding drives. They offer plug-and-play simplicity with polished interfaces, but you're basically paying for convenience. Repurposed PCs accomplish identical tasks for way less money.
Storage drive selection needs attention. Regular desktop drives fail quickly under constant operation. NAS-rated models (WD Red series, Seagate IronWolf line) cost about 20% more but survive years longer. They handle vibration better and ship with extended warranties. Buy two identical drives and mirror them—when one eventually fails (not if, when), your data survives intact.
Popular Software Platforms (Nextcloud, ownCloud, Seafile)
Several mature platforms handle self-hosting needs. They all sync files and provide web interfaces, but each brings different strengths:
Software
Setup Difficulty
Space Limits
Phone Apps
Price
Works Best For
Nextcloud
Moderate learning curve
Unlimited
iOS and Android available
Free, open-source
Users wanting extensive features beyond basic file storage
ownCloud
Requires some technical knowledge
Unlimited
iOS and Android available
Free version available, paid enterprise support
Teams needing guaranteed professional support contracts
Seafile
Reasonably straightforward
Unlimited
iOS and Android available
Free community edition, paid professional version
Photographers managing enormous photo libraries
FileRun
Easier than most
Unlimited
iOS and Android available
Free for limited users, paid licensing
People prioritizing fast performance immediately
Nextcloud wins popularity contests because it handles everything. File storage? Obviously. Calendar syncing? Included. Document collaboration? Built right in. Contact management? Yep, that too. Hundreds of community plugins constantly add new capabilities. The learning curve exceeds commercial services, but documentation quality is outstanding.
ownCloud split from Nextcloud years back and emphasizes stability over flashy features. The company sells enterprise versions with guaranteed support—valuable when running this for small business purposes and needing someone to call when problems emerge.
Seafile impresses with pure performance metrics. Syncing 100,000 photos? Seafile processes faster than competitors consistently. Its underlying architecture optimizes for massive libraries, making photographers and videographers happy.
Step-by-Step Setup Process for Your Own Cloud Storage
This walkthrough uses Nextcloud on Ubuntu Server 24.04 LTS. Why Ubuntu? It receives consistent security updates for five years, offers excellent documentation, and runs rock-solid. First-timers typically finish everything in 2-3 hours.
Installing and Configuring Your Cloud Software
Step 1: Get Ubuntu Server Running
Head to ubuntu.com and download Ubuntu Server. Windows users grab Rufus; Mac or Linux folks grab Etcher. Either program creates bootable USB drives. Plug that USB into your future server and boot from it.
The installer walks through questions. Choose your language, configure network settings (DHCP auto-configuration works perfectly), and create your admin account with a password you'll remember six months from now. When additional software options appear, check "OpenSSH server"—future you will appreciate configuring things comfortably from your laptop instead of hunching over the server keyboard.
Step 2: Update Everything
Immediately after installation finishes, update all packages:
sudo apt update && sudo apt upgrade -y
This patches security holes discovered since the Ubuntu image was created. Takes between 5-15 minutes depending on image age.
Step 3: Install Nextcloud the Easy Way
Snap packages bundle all necessary components. Rather than manually installing Apache web server, PHP language interpreter, MySQL database, then configuring each piece individually (easily 2-3 hours of frustrating work), run one command:
sudo snap install nextcloud
Go make coffee. This takes roughly 10 minutes and handles all dependencies automatically.
Step 4: Create Your Admin Account
Open a web browser on any computer connected to your network. Type this address:
http://[your-server-ip-address]
Find that IP address by running ip addr show on the server console. Look for the number beside your main network interface (usually labeled eth0 or enp0s3).
Nextcloud displays a setup screen. Choose an admin username (skip "admin"—way too obvious for attackers) and create a strong password. This account controls absolutely everything.
Step 5: Tell Nextcloud Where to Store Files
Default configuration stuffs files inside the Nextcloud installation folder. Pretty messy. Point storage somewhere more organized:
Adjust that path to match wherever your storage drives are mounted. Set up RAID? Point to the RAID mount location.
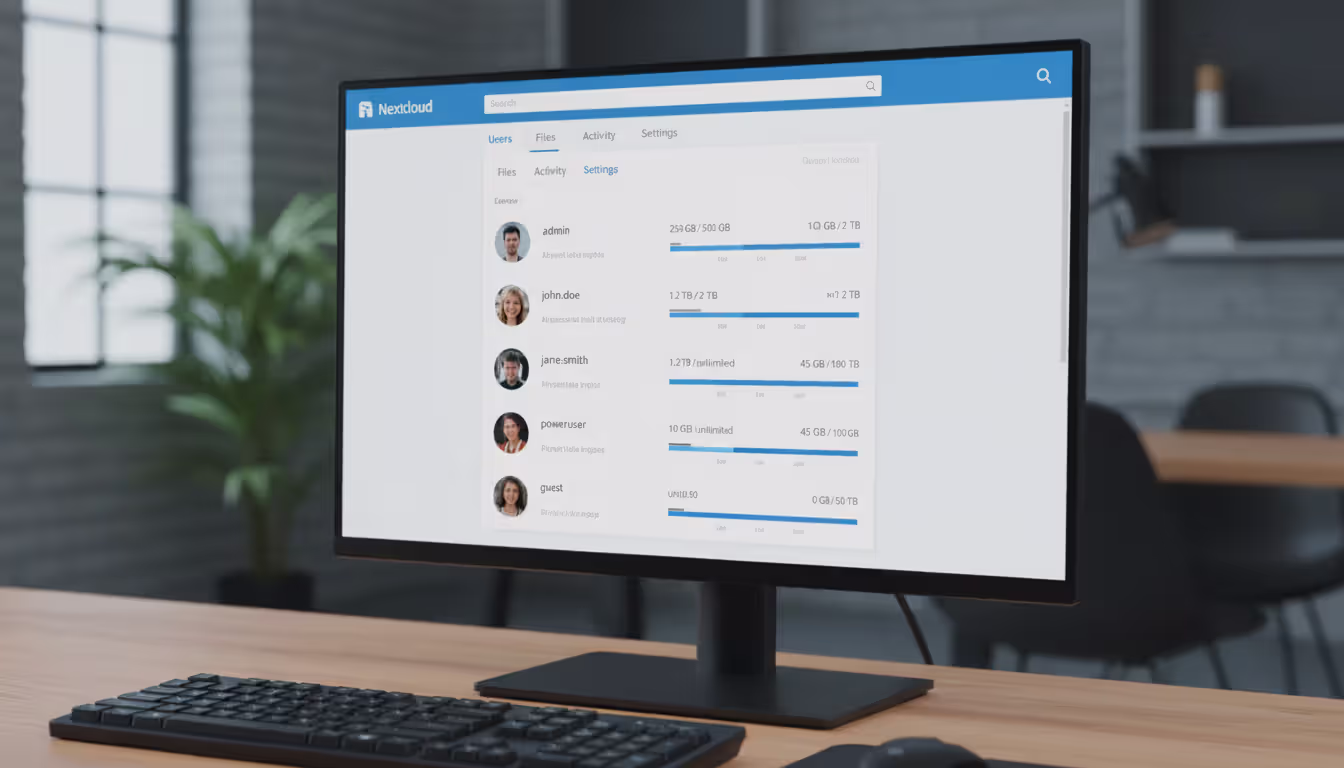
Step 6: Add User Accounts
Log into the web interface using your admin credentials. Click your user icon (top right corner), select Users, then Create User. Add accounts for family members or team members. Set storage quotas if desired—maybe give your teenager who downloads everything 100GB while keeping unlimited space for yourself.
Author: Evan Crossfield;
Source: milkandchocolate.net
Setting Up Remote Access and Port Forwarding
Want file access from outside your network? You'll need to carefully expose your server to internet traffic.
Step 1: Configure Your Router
Log into your router interface (typically 192.168.1.1 or 192.168.0.1—check the router label if uncertain). Find Port Forwarding settings (sometimes labeled Virtual Server or NAT Forwarding).
Create a new rule: - External port: 443 - Internal port: 443 - Internal IP: Your Nextcloud server's IP address - Protocol: TCP
Port 443 handles encrypted HTTPS traffic. Never forward port 80 (unencrypted HTTP) directly to the internet unless you're inviting hackers to your system.
Step 2: Get a Domain Name
Your internet IP address changes whenever your ISP decides to shuffle things around. Domain names stay consistent regardless. DuckDNS provides free subdomains (yourname.duckdns.org format). Install their update client on your server and it automatically updates whenever your IP changes.
Want something more professional? Purchase a domain for $12 yearly from Namecheap or Cloudflare and configure dynamic DNS updates.
Step 3: Enable HTTPS Encryption
Let's Encrypt provides free SSL certificates:
sudo nextcloud.enable-https lets-encrypt
Enter your domain name when prompted. Let's Encrypt confirms you control the domain and issues a certificate valid for 90 days. Snap automatically renews it before expiration—configure once, then forget about it.
Step 4: Test From Outside
Switch to your phone's cellular data (not WiFi) and visit:
https://yourname.duckdns.org
See the Nextcloud login screen? Success. Connection times out instead? Double-check port forwarding rules and firewall settings again.
How to Create Your Own Cloud Storage for Free Using Existing Hardware
Zero-cost cloud storage? Completely achievable with hardware collecting dust somewhere in your house.
The Raspberry Pi Approach
Found a Raspberry Pi 3 or 4 hiding in a drawer? Download NextcloudPi from ownyourbits.com—it's a pre-configured system image that eliminates hours of setup work.
Use Raspberry Pi Imager to write it onto a microSD card. Boot the Pi, wait about three minutes, then access the web interface at https://nextcloudpi.local. Walk through the activation steps.
Critical lesson learned the hard way: attach a USB hard drive for actual file storage. MicroSD cards wear out shockingly fast under constant writes. I killed two cards before learning this lesson myself. Transfer speeds max around 35MB/s because the Pi's USB and Ethernet share bandwidth, but that's acceptable for personal use.
Converting That Old Laptop
Laptops actually make surprisingly excellent servers. Built-in battery backup (basically a free UPS system), lower power draw than desktops, and who cares about that cracked screen when running headless anyway?
Install Ubuntu Server following the steps outlined above. Configure power settings to ignore lid-close events. Shut the lid, position the laptop somewhere with decent airflow, and forget about it.
The 500GB hard drive too small? Swap it for a 2TB 2.5-inch drive ($60). Just remember to maintain backups elsewhere—laptops accommodate only one drive.
Repurposing Desktop Computers
That 2019 desktop you replaced last year? It's complete overkill for a cloud server. Way more CPU horsepower and RAM than necessary, but it's free and functional.
Watch power consumption carefully though. Older desktops pull 100-150 watts while idle. At $0.15 per kilowatt-hour, that's $131 yearly in electricity. Newer energy-efficient builds or laptops draw 20-40 watts—closer to $26-52 annually.
Run the numbers: repurposing saves $120 yearly in subscription fees but adds $80 in electricity costs, you still pocket $40 annually while maintaining complete data privacy.
Author: Evan Crossfield;
Source: milkandchocolate.net
Security Measures and Best Practices
Self-hosting makes you the entire security team. Implement multiple protective layers rather than relying on single defenses.
Encryption Basics
Turn on server-side encryption in Nextcloud Settings → Security → Server-side encryption. This scrambles files stored on disk. Someone physically steals your server? They get useless encrypted garbage without your key.
The tradeoff: slightly slower performance and complete data loss if you lose the encryption key. Store that key somewhere safe but physically separate from the server itself.
HTTPS encrypts data while moving across networks. The Let's Encrypt certificate configured earlier automatically handles this protection.
Firewall Setup
Ubuntu includes UFW (Uncomplicated Firewall—yes, that's genuinely what it stands for). Enable it:
Select "Yes" when prompted. Check monthly to confirm updates applied successfully without breaking anything.
Backup Strategy That Actually Works
RAID doesn't equal backup. Repeat after me: RAID doesn't equal backup. RAID protects against drive failure exclusively. It offers zero protection against accidental deletion, ransomware attacks, fire, theft, or your cat knocking the server off a shelf (yes, this happens).
The 3-2-1 approach works: maintain three copies of important data, use two different storage types, keep one copy off-site physically.
Your primary copy lives on the Nextcloud server. Second copy goes to a USB drive backing up nightly. Third copy gets encrypted and sent to a friend's house (if they'll host a drive for you) or cheap cloud storage like Backblaze B2 ($6 per terabyte monthly).
VPN Integration for Maximum Security
Exposing cloud storage straight to the internet without VPN protection basically invites trouble. VPN encrypts all traffic and masks your server's location. When privacy genuinely matters, setting up your own VPN isn't optional—it's the first thing you should configure
— Marcus Chen
Creating your own VPN (WireGuard or OpenVPN both work excellently) means you access cloud storage through an encrypted tunnel rather than exposing it directly. Port-forward only the VPN service, not Nextcloud itself. Connect to VPN first, then access Nextcloud like you're on the local network physically.
Some users build their own intranet—a completely isolated private network accessible exclusively through VPN. Extreme approach, but maximally effective for security.
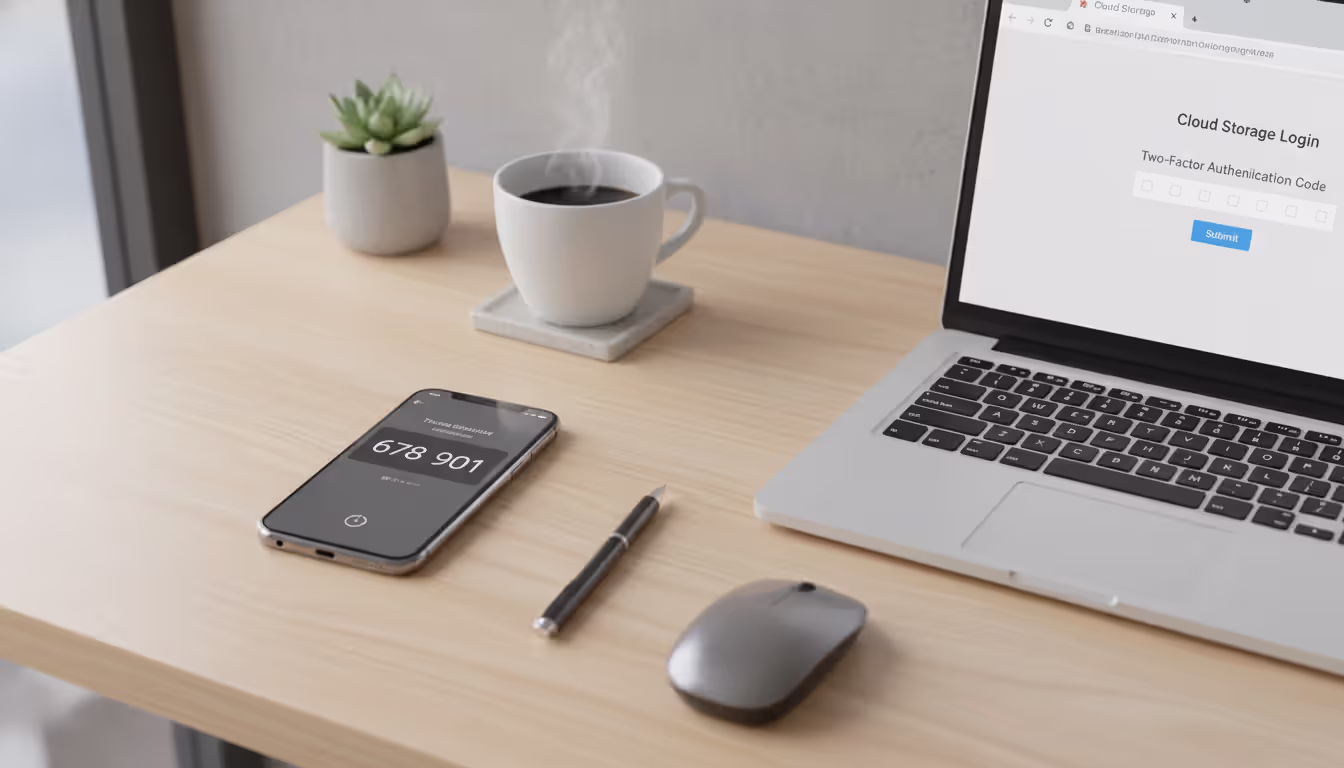
Two-Factor Authentication
Activate 2FA for every user account. Nextcloud integrates with TOTP apps like Google Authenticator or Authy. Go to Settings → Security → Two-Factor Authentication, then scan the displayed QR code with your authenticator app.
Now password theft becomes irrelevant—attackers still need the second factor to access anything.
Common Mistakes When Setting Up Personal Cloud Storage
Thinking RAID Equals Backup
New self-hosters constantly stumble here. RAID protects against hardware failure exclusively. One user learned this painful lesson after accidentally deleting a folder containing years of family photos. The RAID array faithfully mirrored that deletion to both drives instantly. Gone forever.
Set up automated backups before storing anything irreplaceable.
Ignoring Upload Speed Limitations
Your internet upload speed determines remote access performance completely. Most residential connections use asymmetric speeds—100Mbps download but only 10Mbps upload. That 10Mbps upload caps remote downloads at roughly 1.25MB per second.
Downloading a 1GB file takes over 13 minutes. Streaming 4K video? Impossible. Check your actual upload speed at speedtest.net before expecting Google Drive-level performance. Consider upgrading to fiber if remote access matters significantly.
RAID Configuration Disasters
RAID 0 stripes data across drives for maximum speed without any redundancy. Single drive failure destroys everything instantly. Never use RAID 0 unless you genuinely enjoy losing data.
RAID 1 creates an exact copy across two drives. Single drive failure? No problem whatsoever, your data survives intact. But you sacrifice half your total capacity—two 4TB drives provide only 4TB usable storage.
RAID 5 requires three or more drives, survives one failure, and offers better capacity efficiency. Three 4TB drives yield 8TB usable storage. The complexity jumps considerably though, and rebuilds after failure can take literal days. During that rebuild window, a second failure destroys everything.
For home use, RAID 1 balances simplicity and protection most effectively.
Skipping SSL Certificates
Some people skip SSL configuration because it looks complicated initially. They access everything via http:// rather than https://. This broadcasts passwords and files in plain text across networks. Anyone on the same WiFi network can intercept your credentials trivially using free tools.
Always use HTTPS, especially for internet access. Let's Encrypt certificates cost nothing and take roughly five minutes to configure properly.
Hardware Mismatched to Usage
A Raspberry Pi 3 chokes badly when three people access it simultaneously. Users get frustrated when their "cloud" crashes during a 5GB upload or constantly times out.
Match hardware to actual usage patterns. Single user storing documents? Minimal hardware works perfectly fine. Family of five streaming videos and syncing massive photo libraries? You need robust hardware specifications.
Forgetting Power Failure Protection
Unexpected power loss corrupts databases and filesystems regularly. One outage can brick your entire cloud until you manually repair filesystem errors—assuming repair is even possible.
Buy a small UPS for $60-80. Provides the server time to shut down gracefully during outages, completely preventing corruption. Cheap insurance compared to data loss.
Author: Evan Crossfield;
Source: milkandchocolate.net
Frequently Asked Questions About Personal Cloud Storage
How much does it cost to create your own cloud storage?
You'll spend anywhere from $0 to $600+ depending on what you already own. A typical new setup costs around $400-450:
Refurbished desktop computer: $150-200
Two 4TB NAS-rated drives: $180 total
Small UPS battery backup: $75
Total: approximately $400-450
Ongoing costs include electricity (anywhere from $25-130 annually based on hardware efficiency) and optional domain registration ($12-15 yearly). Compare that against Google Drive's 2TB plan at $120 yearly—your hardware investment recovers costs in roughly four years while providing more storage capacity and significantly better privacy.
Can I access my personal cloud storage from anywhere?
Absolutely yes, after configuring port forwarding and HTTPS properly. Install Nextcloud's mobile apps for iOS or Android, or use any web browser from literally anywhere worldwide.
Performance depends heavily on your home internet upload speed. A 10Mbps upload connection limits remote downloads to approximately 1.25MB per second. Get fiber with symmetrical speeds (100Mbps both directions) and you'll experience near-local network performance even from across the country.
Is self-hosted cloud storage safer than Dropbox or Google Drive?
Safety depends entirely on your technical competence. Commercial providers employ dedicated security teams monitoring threats 24/7 and implementing enterprise-grade protections. They're also centralized targets that governments can subpoena and hackers constantly attack.
Self-hosted storage eliminates third-party access completely but requires you to maintain updates, configure firewalls correctly, and implement solid backup strategies. A poorly secured personal cloud definitely ranks less safe than commercial services. A well-maintained one offers superior privacy guarantees.
The privacy advantage remains crystal clear: your files never leave your physical control. Zero AI training on your data, no advertising algorithms scanning content, and no government subpoenas without physically seizing your hardware.
What internet speed do I need for my own cloud server?
Minimum viable speeds: - Download: 25Mbps (ensures general internet use continues while server operates) - Upload: 10Mbps (provides barely acceptable remote access)
Better speeds for good experience: - Download: 100Mbps or higher - Upload: 25Mbps or higher
Upload speed matters most for remote access scenarios. If you mainly use the cloud on your local network, internet speed becomes nearly irrelevant. Gigabit fiber with symmetrical speeds provides the optimal experience for heavy remote use patterns.
Can I share files with others using my personal cloud?
Yes, extensively. Nextcloud and similar platforms include comprehensive sharing features:
Share entire folders or individual files with other users on your server
Generate public links for external sharing (functions like Dropbox shared links)
Set expiration dates and passwords on any shared link
Allow or restrict downloading, editing, and uploading permissions granularly
Share calendars and contacts with family or team members
You control every permission granularly. Nobody accesses shared files unless you explicitly grant them access rights.
Do I need a static IP address for my cloud storage?
Not required technically, but it simplifies things considerably. Most home internet connections use dynamic IPs that change periodically. Dynamic DNS services solve this problem by automatically updating your domain to point at your current IP address.
Free services like DuckDNS work perfectly well for personal use. Install their update client on your server, and your domain always points to the correct IP even when it changes.
Static IPs from your ISP (typically $5-15 monthly extra) eliminate this complexity entirely but aren't necessary for functional cloud storage.
Building your own cloud storage fundamentally transforms how you interact with digital files. Rather than renting space from corporations monetizing your data, you own the infrastructure and dictate access rules completely. The initial setup requires time investment and technical learning, but you'll end up with a private, customizable system costing less over time than perpetual subscriptions.
Start small if the full process feels overwhelming initially. Install Nextcloud on an old laptop, use it locally for a month, then tackle remote access once you're comfortable with basics. Add features incrementally—encryption one weekend, VPN access the next, automated backups after that. Self-hosting allows flexibility—your cloud evolves with your needs rather than forcing you into rigid subscription tiers.
Most people overlook how much privacy matters until it's gone. Family photos, financial documents, personal files—everything stays truly private, stored on hardware in your home rather than scattered across data centers worldwide. Combined with long-term cost savings and unlimited storage expansion potential, personal cloud storage offers a compelling alternative to commercial services for anyone willing to invest a weekend in setup and ongoing maintenance.
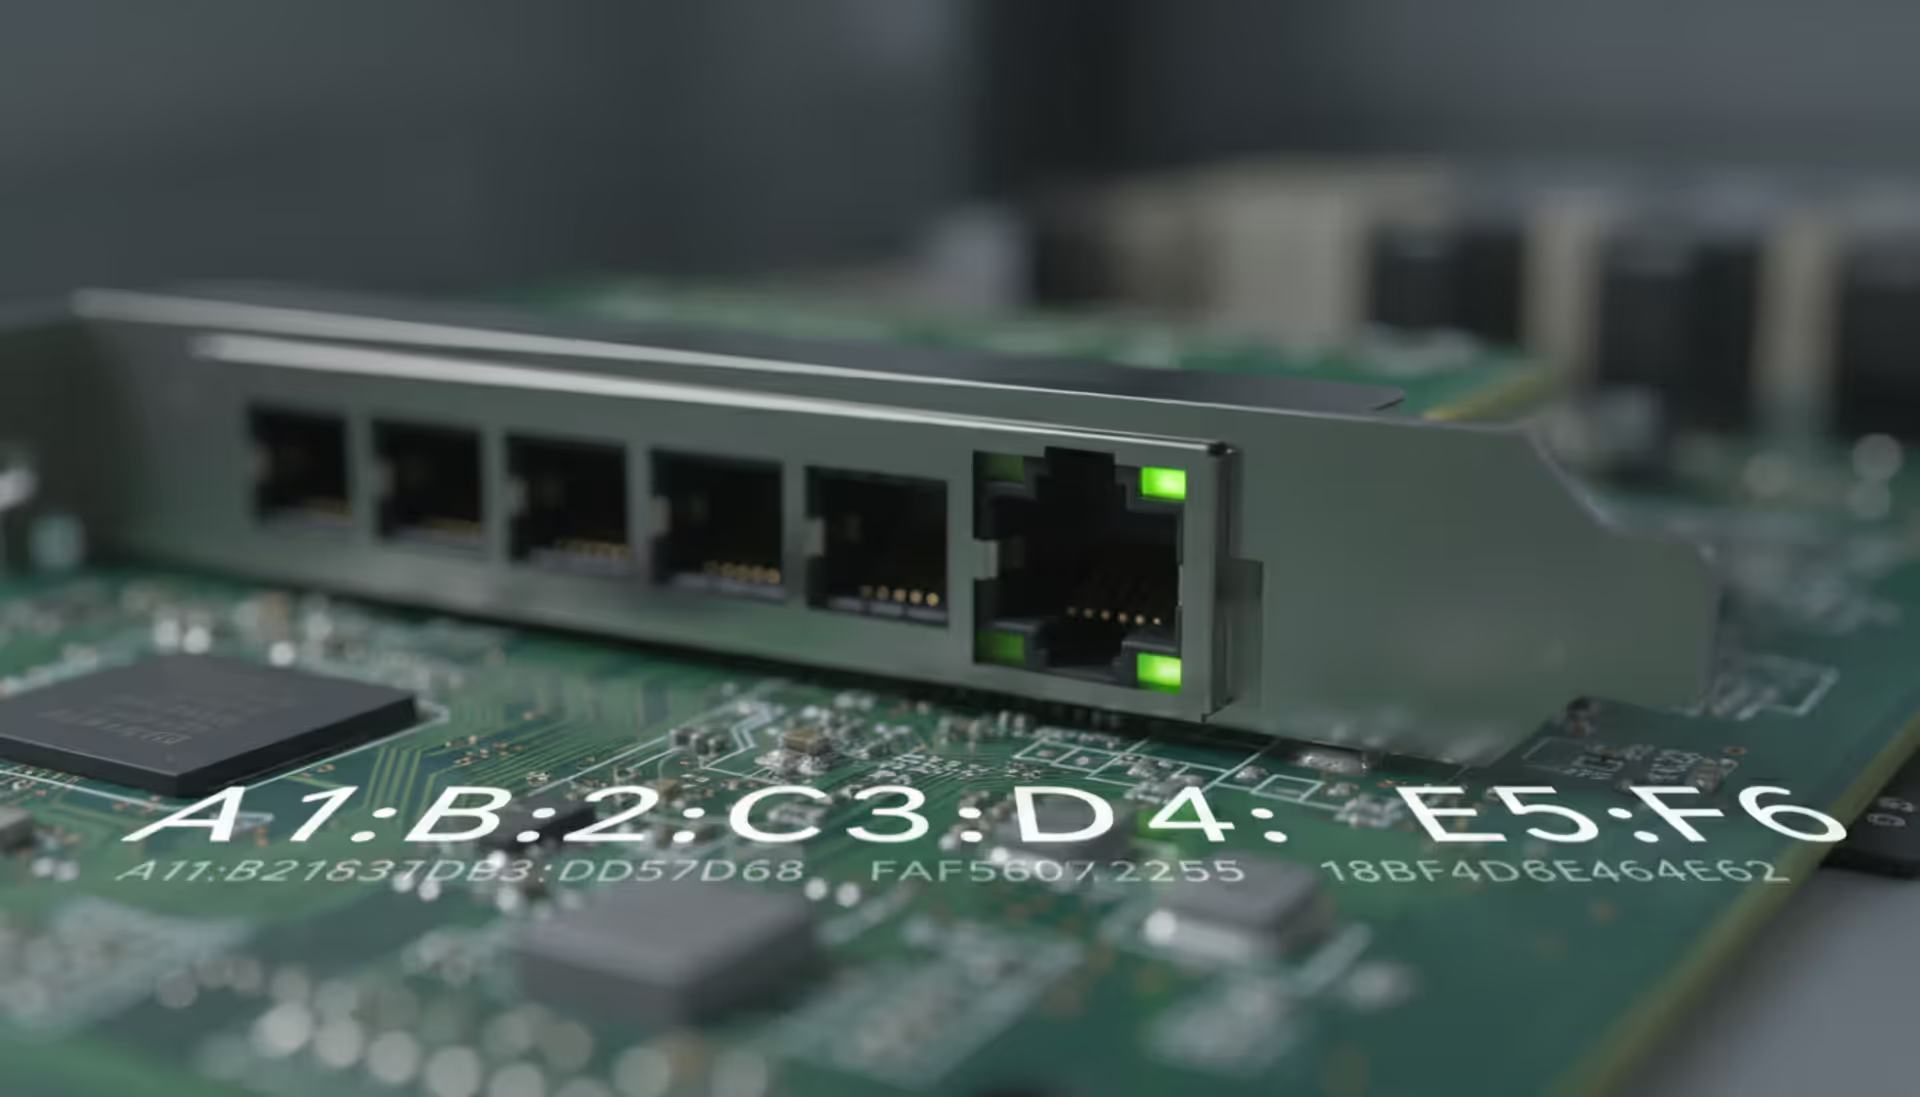
Every network device carries a unique MAC address identifier. This guide shows you how to find MAC addresses using command-line tools, system settings, and vendor lookup databases. Includes step-by-step instructions for Windows Command Prompt, macOS, Linux, and mobile devices
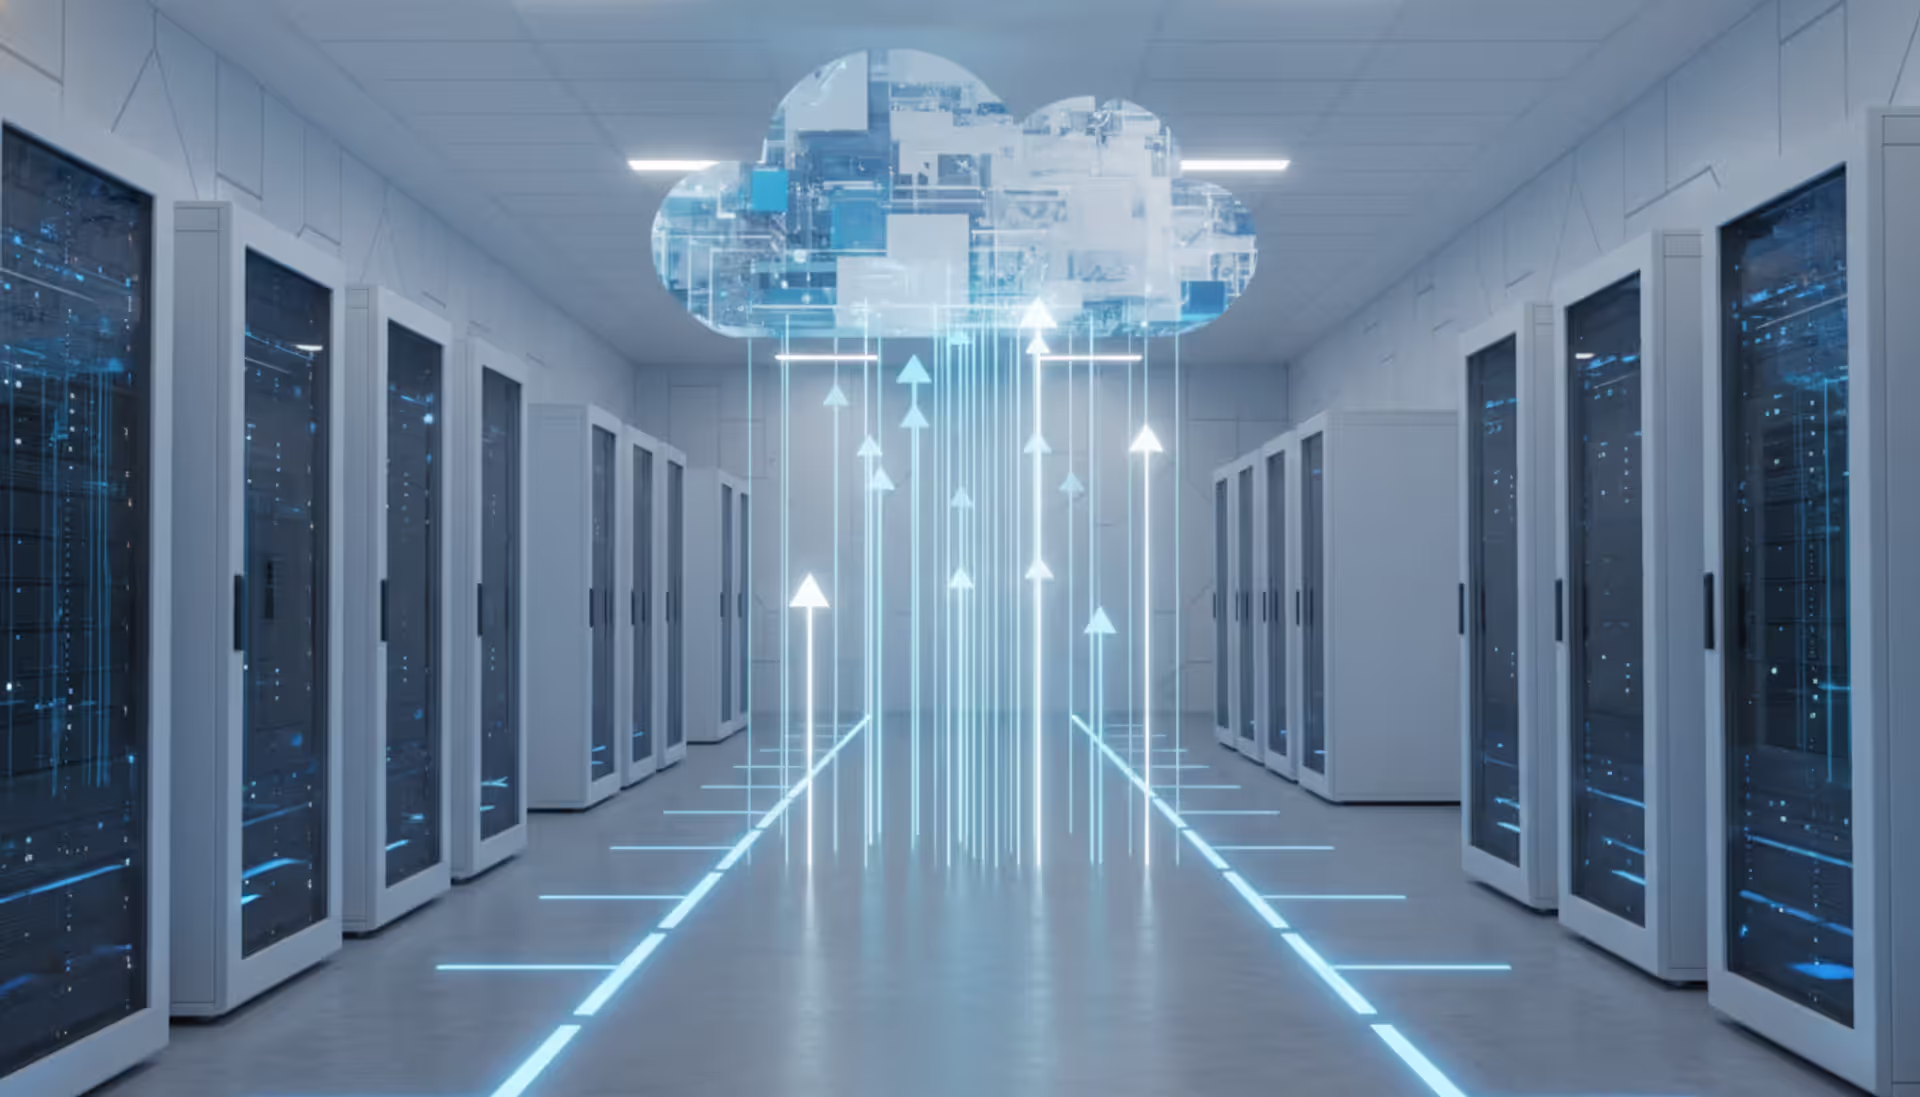
Migrating to the cloud doesn't always require reimagining your entire infrastructure. Lift and shift migration moves applications to the cloud with minimal modifications—a pragmatic approach for organizations facing data center deadlines or managing legacy systems
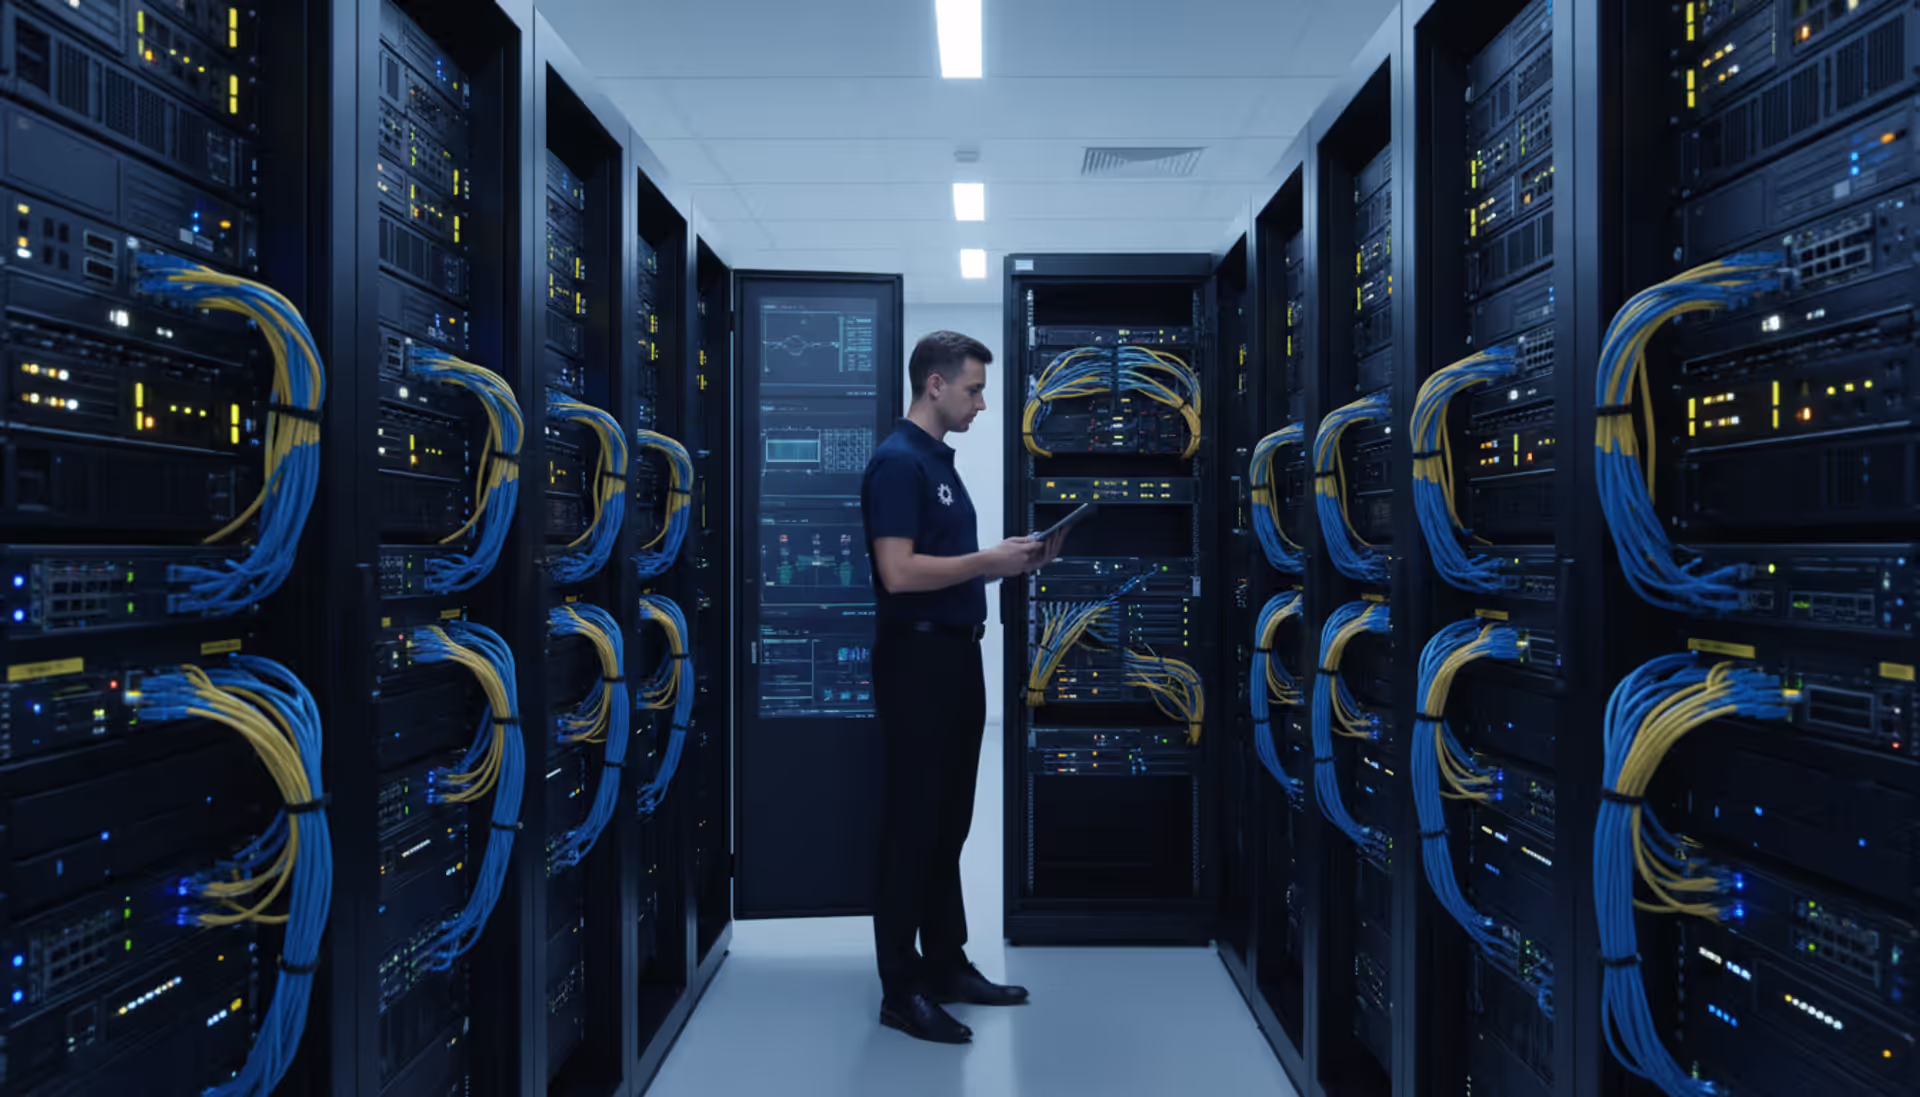
Network failures don't announce themselves politely. For small and medium businesses, disruptions translate directly into lost revenue and damaged reputation. This guide explains IT network support services, when you need professional help, and how to choose between in-house teams and managed providers
Network administrators on tight budgets can achieve comprehensive visibility with free SNMP monitoring software. This guide compares leading platforms like Zabbix, LibreNMS, and PRTG Free, covering setup requirements, feature trade-offs, and common deployment mistakes to avoid
The content on this website is provided for general informational purposes only. It is intended to offer insights, commentary, and analysis on cloud computing, network infrastructure, cybersecurity, and IT solutions, and should not be considered professional, technical, or legal advice.
All information, articles, and materials presented on this website are for general informational purposes only. Technologies, standards, and best practices may vary depending on specific environments and may change over time. The application of any technical concepts depends on individual systems, configurations, and requirements.
This website is not responsible for any errors or omissions in the content, or for any actions taken based on the information provided. Users are encouraged to seek qualified professional advice tailored to their specific IT infrastructure, security, and business needs before making decisions.