

SSL TLS Port Guide
Understand SSL and TLS port numbers for secure communication. Covers port 443 for HTTPS, 465/587 for email, 993/995 for IMAP/POP3, plus configuration, troubleshooting, and hardening best practices for system administrators

Modern workspace with a monitor displaying a network topology map showing connected devices like laptop, smartphone, router, and IoT gadgets in a dark cybersecurity-themed interface
Content
Network visibility has become essential for anyone managing internet-connected environments. Whether you're troubleshooting slow speeds, securing your home office, or managing a small business network, knowing what devices connect to your infrastructure matters more than ever.
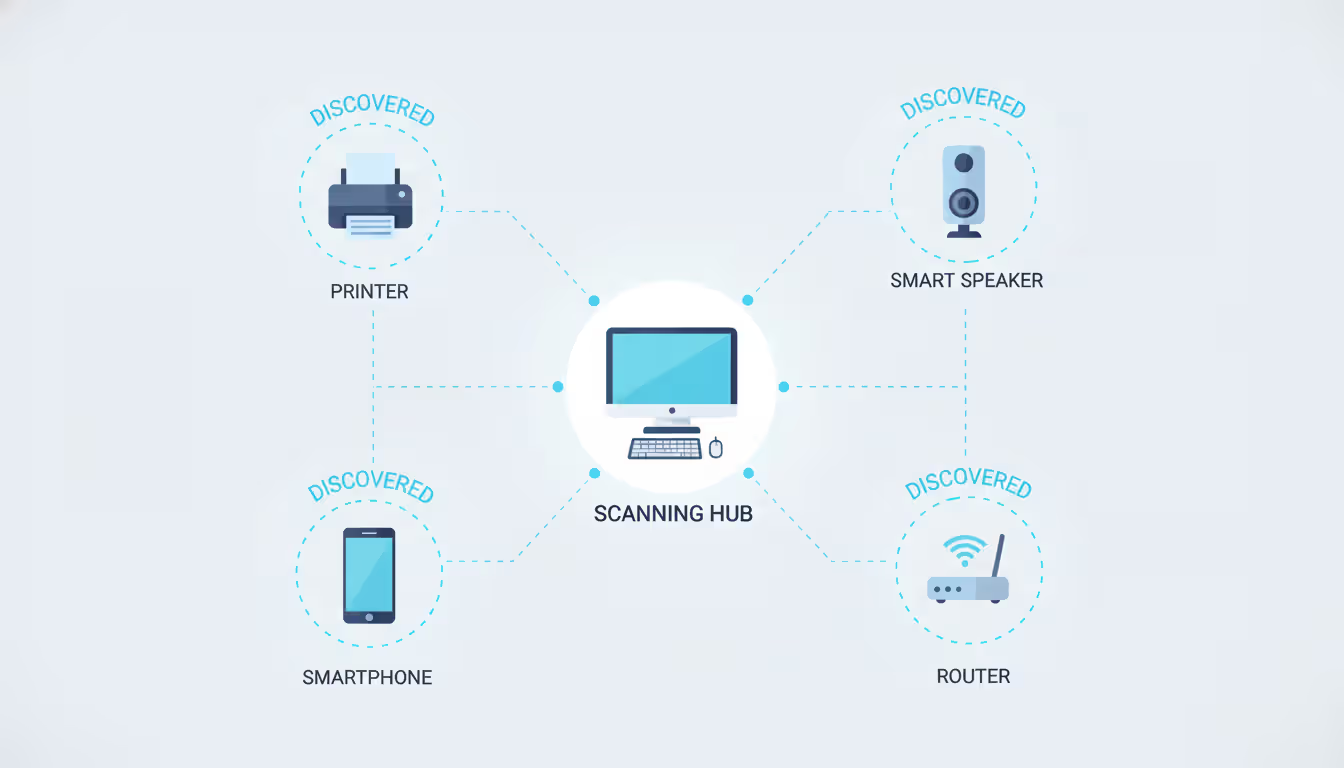
Network scanning identifies active devices connected to your local network. The process discovers IP addresses, MAC addresses, open ports, and sometimes device types or hostnames. Think of it as taking inventory of everything using your internet connection.
Security audits represent the primary reason people scan networks. An unknown device might indicate an unauthorized user accessing your WiFi, a compromised IoT gadget, or a forgotten laptop someone left connected. Small businesses face particular risk—a 2025 cybersecurity report found that 68% of network breaches began with unmonitored devices gaining access to corporate networks.
Troubleshooting becomes simpler when you know your network topology. If your streaming suddenly buffers or video calls drop, a scan reveals whether bandwidth-hogging devices are the culprit. One common scenario: a smart TV automatically downloading firmware updates during work hours, consuming most available bandwidth.
Inventory management helps track hardware across locations. IT departments use regular scans to verify that company devices remain where they should be and identify when employees add unauthorized equipment. Home users benefit too—discovering that old printer still pulling an IP address might explain occasional network hiccups.
Detecting unauthorized devices protects both security and performance. Your neighbor guessing your WiFi password, a guest who never removed their device from your network, or malware creating backdoor connections all appear during thorough scans.
Network scanning relies on several technical approaches to discover devices. Understanding these methods helps you choose the right tool and interpret results accurately.
Ping sweeps send ICMP echo requests to every IP address in your network range. When you scan network for IP addresses using this method, your computer essentially knocks on each possible address asking "anyone home?" Devices that respond reveal their presence. This approach works quickly but misses devices configured to ignore ping requests—a common security setting on servers and some workstations.
ARP (Address Resolution Protocol) requests query the local network's MAC-to-IP mapping table. Since devices must use ARP to communicate on Ethernet networks, this method catches even ping-resistant devices. ARP scanning only works on your local subnet, making it perfect for home and small office networks but useless for discovering devices across routers.
Port scanning probes specific network ports to identify services running on discovered devices. Finding port 80 or 443 open suggests a web server; port 22 indicates SSH access; port 3389 means Remote Desktop. Advanced scanners combine port detection with service fingerprinting to guess device types—distinguishing between a printer, security camera, or computer.
The information discovered typically includes IP addresses (like 192.168.1.105), MAC addresses (physical hardware identifiers like A4:83:E7:2B:F1:C8), hostnames (such as "Johns-iPhone" or "HP-Printer-3F"), and sometimes manufacturer details derived from MAC address prefixes.
Most scans complete within seconds for small networks. A typical home network with 20 devices takes 5-15 seconds to scan completely, while a small office with 100 devices might require a minute.
Author: Evan Crossfield;
Source: milkandchocolate.net
Multiple approaches exist for network scanning, each with distinct advantages. Your choice depends on technical comfort level, operating system, and specific needs.
Every major operating system includes command-line utilities for basic network discovery. These tools require no installation but demand comfort with text-based interfaces.
Windows users can open Command Prompt and type arp -a to view all devices your computer recently communicated with. This shows IP addresses and MAC addresses but misses devices you haven't interacted with. The ipconfig command reveals your own IP address and subnet mask—essential information for determining your network range.
For more thorough Windows scanning, combine commands: for /L %i in (1,1,254) do @ping -n 1 -w 200 192.168.1.%i > nul && echo 192.168.1.%i is up pings every address in the 192.168.1.x range. Replace the network portion to match your subnet.
Mac and Linux users access Terminal and use ifconfig (older systems) or ip addr (newer Linux) to find their network configuration. The command arp -a works identically to Windows. For comprehensive scanning, nmap comes pre-installed on many Linux distributions and installs easily on macOS via Homebrew.
The command nmap -sn 192.168.1.0/24 performs a ping scan of an entire subnet. The -sn flag tells nmap to skip port scanning and just discover hosts. Results appear in seconds, listing every responsive device.
Built-in tools work well for quick checks and don't require downloading software. However, they present results in raw text format without user-friendly organization or device identification features.
Dedicated scanning applications offer visual interfaces, automatic device identification, and result organization. Several excellent options exist for different platforms.
Advanced IP Scanner (Windows) provides straightforward scanning with a clean interface. After launching, it automatically detects your network range and begins scanning with one click. Results display in a sortable table showing IP addresses, manufacturer names, and computer names. The software identifies many device types automatically—marking printers, routers, and network storage. You can remotely access discovered computers, wake them via Wake-on-LAN, or shut them down if you have appropriate permissions.
Angry IP Scanner runs on Windows, macOS, and Linux, making it ideal for mixed-environment users. The open-source tool scans quickly and exports results to multiple formats including CSV and XML. While the interface looks dated, functionality remains solid. Custom port scanning helps identify specific services, and the fetcher plugins extend capabilities to gather additional information about discovered devices.
Nmap represents the gold standard for serious network scanning. Network administrators worldwide rely on this powerful open-source tool. The command-line version offers hundreds of options for customized scans, while Zenmap provides a graphical interface for those preferring visual interaction. Nmap excels at identifying device operating systems, detecting service versions, and finding security vulnerabilities. The learning curve is steeper than simpler tools, but capabilities far exceed alternatives.
SoftPerfect Network Scanner combines speed with features. It detects listening ports, discovers shared folders, retrieves system information via WMI, and even launches remote commands. The multi-threaded scanning engine handles large networks efficiently. While not free for commercial use, the personal license costs remain reasonable.
Web-based scanning tools promise convenience—no software installation required. However, significant limitations apply when you scan network online.
Online scanners cannot directly access your local network. Browsers restrict websites from scanning private IP ranges (192.168.x.x, 10.x.x.x, 172.16-31.x.x) for security reasons. What online tools can do is scan your public IP address and any ports forwarded through your router. This reveals services you've exposed to the internet, useful for security auditing your external attack surface.
Services like ShieldsUP!, Pentest-Tools, and HackerTarget scan your public-facing network presence. They identify open ports, test common vulnerabilities, and check for misconfigurations. One practical use: verifying that you haven't accidentally exposed Remote Desktop or file shares to the entire internet.
The security consideration cuts both ways. Legitimate online scanners help you find problems, but using unknown scanning services means trusting them with information about your network. Stick to established security companies rather than random websites offering free scans.
Browser-based tools using WebRTC or JavaScript techniques can sometimes enumerate local devices, but these methods prove unreliable and often fail due to browser security policies updated throughout 2025 and 2026.
For discovering devices on your local network, online tools simply cannot replace desktop software or command-line utilities. They serve a different purpose—external security assessment rather than internal device discovery.
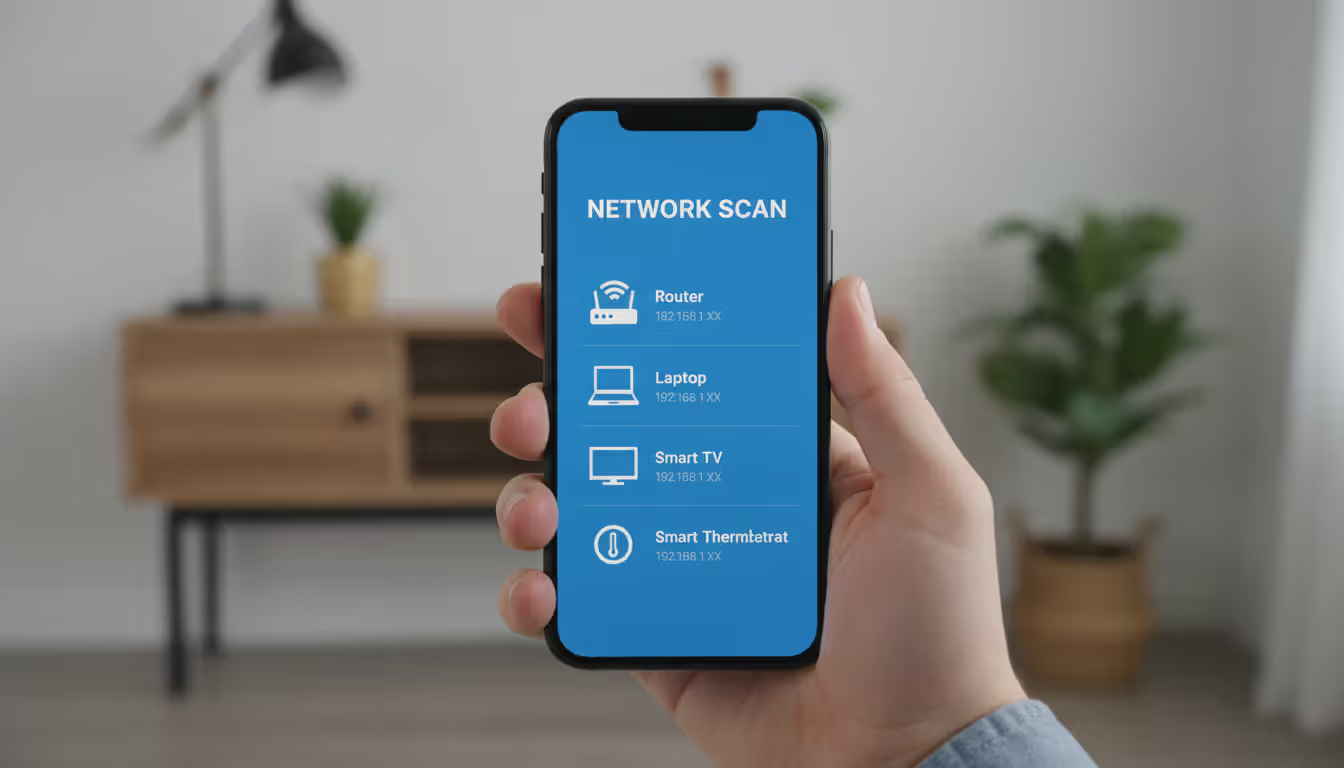
Smartphones offer surprising capability for network scanning. Mobile apps work well for quick checks when you're away from your computer or troubleshooting WiFi issues on the go.
Fing (iOS and Android) stands out as the most popular mobile network scanner. The free version scans networks in seconds, identifying device types with impressive accuracy. The app recognizes thousands of device models, often showing you that "192.168.1.147" is actually your Samsung smart TV or Nest thermostat. Fing includes Internet outage detection, WiFi speed testing, and port scanning. The premium version adds advanced features like network security monitoring and device usage tracking.
Network Analyzer (iOS and Android) provides professional-grade tools in mobile form. Beyond basic scanning, it offers ping, traceroute, DNS lookup, and port scanning. The LAN scanner displays devices on a visual network map. Technical users appreciate the detailed information comparable to desktop tools.
Scany (iOS) focuses specifically on network scanning with a clean, modern interface. It quickly discovers devices, shows manufacturer information, and allows you to assign custom names and icons for easy identification. The app remembers previously scanned networks, highlighting new devices when you scan again.
IP Tools (Android) bundles multiple network utilities including scanner, ping, traceroute, and WiFi analyzer. The all-in-one approach means you don't need separate apps for different network tasks.
Mobile scanning works best on WiFi networks you're connected to. Some apps attempt scanning over cellular connections but with limited success. Battery consumption during intensive scans can be significant—expect 5-10% battery drain for thorough scans on large networks.
Author: Evan Crossfield;
Source: milkandchocolate.net
This practical walkthrough uses Advanced IP Scanner on Windows, a free tool requiring no technical expertise. The process demonstrates how to scan network for devices from start to finish.
Step 1: Download and Install Visit the Advanced IP Scanner website and download the latest version. The installer is small (less than 3MB) and installation completes in under a minute. You can also use the portable version without installation—useful for scanning from a USB drive.
Step 2: Launch and Configure Open Advanced IP Scanner. The interface shows an IP range field at the top, typically auto-populated with your network range like "192.168.1.1 - 192.168.1.254". This covers all possible devices on a standard home network. For larger networks using different subnets, adjust accordingly.
Step 3: Start the Scan Click the large "Scan" button. A progress bar appears as the software queries each IP address. On a typical home network, scanning completes in 10-20 seconds. You'll see devices appear in the results list as they're discovered.
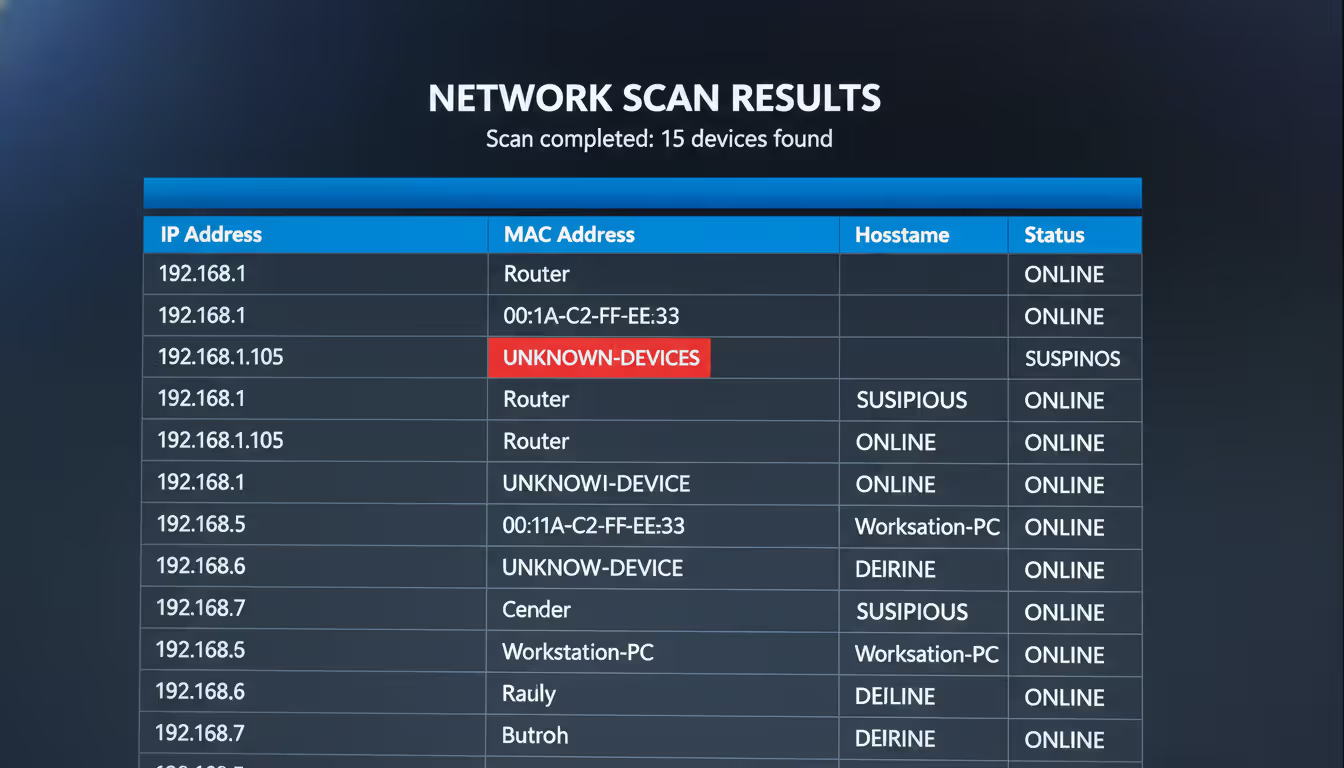
Step 4: Review Results The results display in columns: Status (active/inactive), Name (hostname), IP Address, Manufacturer (derived from MAC address), and MAC Address. Active devices show in green. Right-click any device to access additional options like pinging, connecting via Remote Desktop, or accessing shared folders.
Step 5: Identify Devices Match IP addresses to physical devices using the manufacturer and name information. "Apple Inc." likely indicates an iPhone, iPad, or Mac. "Hewlett Packard" suggests a printer. Router manufacturers like Netgear, TP-Link, or Asus identify your gateway. Unknown devices require investigation—compare the MAC address to labels on physical devices or check your router's DHCP client list for more clues.
Step 6: Document Findings Export results by clicking "Export" and choosing CSV format. This creates a spreadsheet listing all discovered devices—useful for tracking changes over time. Save scans periodically to identify when new devices appear.
Expected Results: A typical home network reveals 15-30 devices: router, modem, computers, smartphones, tablets, smart TVs, streaming devices, gaming consoles, smart speakers, security cameras, thermostats, and various IoT gadgets. Many users are surprised by the count—that forgotten smart plug still occupies an IP address.
Troubleshooting: If few devices appear, check that you're connected to the network via WiFi or Ethernet. Some networks use AP isolation (common in guest networks), preventing device discovery. Firewalls on individual devices might block scan responses—this is normal for security-conscious configurations.
Raw scan data becomes useful only when properly interpreted. Learning to read device lists, identify types, and recognize anomalies transforms numbers into actionable information.
Device Lists and Organization Most scanners organize results by IP address in ascending order. The first address (typically .1) is usually your router. DHCP servers commonly assign addresses sequentially, so devices that connected earlier have lower numbers. Static IP assignments often cluster in specific ranges—many users reserve .2 through .50 for servers and network equipment, leaving higher numbers for DHCP.
Identifying Device Types Manufacturer information provides the primary identification clue. MAC addresses contain Organizationally Unique Identifiers (OUIs) in their first six characters. Scanners reference databases mapping these prefixes to manufacturers. Seeing "Samsung Electronics" narrows possibilities to phones, tablets, TVs, or appliances. "Espressif Inc." indicates ESP8266 or ESP32 chips—common in DIY smart home devices.
Hostnames offer direct identification when devices broadcast them. "Johns-MacBook-Pro" or "DESKTOP-HP3K8L2" clearly indicate ownership and device type. Many IoT devices use generic names like "Philips-Hue" or "Ring-Doorbell."
Port scanning reveals device functions. Web servers (ports 80/443), SSH servers (port 22), and database servers (ports 3306, 5432) identify server roles. Printers typically expose port 9100 (raw printing) and 631 (IPP). Security cameras often use RTSP (port 554) or ONVIF (port 8080).
Recognizing Unknown Devices Unidentified devices warrant investigation. Compare the MAC address to physical device labels—most network equipment prints the MAC address on a sticker. Check your router's DHCP lease table, which sometimes shows additional details like device names or lease duration.
Disconnect suspected devices one at a time while watching the scan results. When a device disappears from the scan, you've identified the physical hardware. This brute-force approach works when other methods fail.
Consider the connection time. Devices appearing only during specific hours might be a neighbor's phone auto-connecting to your network when they're home, or a scheduled backup server that powers on at night.
Author: Evan Crossfield;
Source: milkandchocolate.net
MAC Address Significance Every network interface has a unique MAC address burned into hardware at manufacture. Unlike IP addresses (which change), MAC addresses remain constant. This permanence allows device tracking even when DHCP assigns different IPs.
The first half of a MAC address identifies the manufacturer; the second half is the unique device identifier. Two devices from the same manufacturer share the first six characters but differ in the last six. Randomized MAC addresses—a privacy feature on modern smartphones—complicate tracking. iPhones and Android devices now generate random MACs when scanning for WiFi networks, changing to the real MAC only after connecting.
Security Red Flags Certain patterns indicate problems. Multiple devices from unfamiliar manufacturers might mean unauthorized access. A sudden increase in device count deserves investigation. Devices with no manufacturer information (showing only MAC addresses) sometimes indicate spoofing attempts or unusual hardware.
Devices on your network that shouldn't have network capability raise concerns. A coffee maker appearing in scans seems odd unless you specifically purchased a WiFi-enabled model. Malware sometimes creates virtual network interfaces—seeing multiple adapters on a single computer warrants antivirus scanning.
Regular network scanning represents the first line of defense in modern cybersecurity. I recommend home users scan their networks monthly, while businesses should implement continuous monitoring. In my 15 years consulting, I've seen countless breaches that would have been prevented if someone had simply noticed the unauthorized device that appeared three weeks before the attack. The tools are free, the process takes minutes, and the protection is invaluable
— Marcus Chen
Even straightforward network scanning involves pitfalls that compromise results or create problems. Avoiding these common errors saves time and prevents issues.
Scanning Without Permission The most serious mistake involves scanning networks you don't own or administer. Running network scans on corporate networks without IT approval can trigger security alerts and violate acceptable use policies. Some companies classify unauthorized scanning as a terminable offense. Always obtain written permission before scanning work networks.
Public WiFi scanning often violates terms of service. Coffee shops, hotels, and airports prohibit network scanning in their usage agreements. Beyond policy violations, scanning public networks might be illegal depending on jurisdiction and intent.
Even scanning your home network can cause issues if you live in an apartment building with shared infrastructure. Ensure your scans target only your subnet, not the entire building's network.
Ignoring Security Protocols Downloading scanner software from unofficial sources risks malware infection. Stick to official websites or verified app stores. Several fake "network scanner" applications actually install spyware or cryptominers.
Running scanners with excessive privileges grants unnecessary system access. Most scanning tools don't require administrator rights for basic functionality. Only elevate privileges when specifically needed for advanced features.
Saving scan results without encryption exposes your network topology. If results contain sensitive information—like server names or security camera locations—encrypt the files or store them securely.
Misinterpreting Results Assuming every unknown device indicates a security breach causes unnecessary panic. Many household gadgets contain network chips you might not expect. Smart power strips, LED light bulbs, bathroom scales, and even some smoke detectors now connect to WiFi.
Confusing device counts with security posture is another error. A network with 50 devices isn't inherently less secure than one with 10 devices. What matters is whether you recognize and authorize each device.
Over-relying on automated device identification leads to mistakes. Scanners guess device types based on limited information and frequently err. That entry labeled "iPhone" might actually be an iPad or even a Mac—all use similar MAC prefixes.
Not Documenting Findings Failing to save scan results prevents comparison over time. Without baseline documentation, you can't identify when new devices appear. Create a habit of monthly scans, saving results with dated filenames like "network-scan-2026-01-15.csv."
Neglecting to label known devices complicates future scans. Most scanning tools let you assign custom names. Change "192.168.1.105 - Apple Inc." to "192.168.1.105 - Johns iPhone 14" for instant recognition during subsequent scans.
Technical Oversights Scanning only once provides an incomplete picture. Devices that are powered off, sleeping, or temporarily disconnected won't appear. Scan at different times—morning, afternoon, and evening—to catch devices with varying usage patterns.
Using incorrect IP ranges misses devices. If your network uses 10.0.0.x addressing but you scan 192.168.1.x, you'll find nothing. Always verify your network configuration before scanning.
Assuming scan completion means discovery of all devices sets false expectations. Devices configured to ignore pings, those behind additional routers, and equipment with strict firewalls might remain invisible to basic scans.

Author: Evan Crossfield;
Source: milkandchocolate.net
Performance Impact Aggressive scanning can temporarily slow network performance. Rapid-fire ping requests and port scans consume bandwidth and increase router processing load. On slower networks or overloaded routers, this causes brief connectivity hiccups. Schedule intensive scans during low-usage periods.
Some security appliances interpret aggressive scans as attacks and temporarily block the scanning device. If your network includes intrusion detection systems, coordinate scans with security teams to whitelist your scanning activity.
| Tool Name | Platform | Price | Best For | Ease of Use |
| Advanced IP Scanner | Windows | Free | Quick home network scans, beginners | Very Easy |
| Angry IP Scanner | Windows, macOS, Linux | Free (open source) | Cross-platform scanning, basic needs | Easy |
| Nmap/Zenmap | Windows, macOS, Linux | Free (open source) | Advanced scanning, security professionals | Moderate to Difficult |
| Fing | iOS, Android | Free (premium features available) | Mobile scanning, on-the-go troubleshooting | Very Easy |
| SoftPerfect Network Scanner | Windows | $29 personal / $99 commercial | Business networks, advanced features | Moderate |
| Network Analyzer | iOS, Android | Free (in-app purchases) | Mobile professional tools | Moderate |
| Lansweeper | Windows | Free (up to 100 assets) / Paid tiers | IT asset management, large networks | Moderate |
Network scanning transforms invisible digital infrastructure into visible, manageable inventory. The devices connecting to your network—whether at home or in a small office—represent both resources and potential security risks. Regular scanning provides the awareness needed to maintain security, troubleshoot problems, and optimize performance.
The tools exist at every skill level and price point. Beginners find success with Advanced IP Scanner or Fing, completing their first scan in minutes. Technical users leverage Nmap's powerful capabilities for comprehensive security audits. The method matters less than the habit—consistent scanning beats sophisticated tools used once.
Start with a single scan today. Document what you find, identify unknown devices, and establish your baseline. Next month, scan again and compare results. This simple practice catches unauthorized access, identifies bandwidth hogs, and prevents the slow accumulation of forgotten devices that plague many networks. Your network security and performance will improve measurably, and you'll gain confidence in managing your digital environment.
Understand SSL and TLS port numbers for secure communication. Covers port 443 for HTTPS, 465/587 for email, 993/995 for IMAP/POP3, plus configuration, troubleshooting, and hardening best practices for system administrators

Self hosted cloud storage puts you in complete control of your data. This guide explains what self hosting means, compares costs against commercial services, reviews popular platforms like Nextcloud and Syncthing, and walks through setup steps for building your own private cloud in 2026

Remote work demands more than enabling RDP. This comprehensive guide covers secure remote desktop implementation, from choosing the right platform to configuring multi-factor authentication, encryption, and monitoring. Learn the differences between remote desktop and VPN, avoid common security mistakes, and follow step-by-step setup procedures

Remote computer management enables access and control of systems from any location. This comprehensive guide covers remote login processes, cross-network connections, security best practices, and troubleshooting common issues for both businesses and individuals
The content on this website is provided for general informational purposes only. It is intended to offer insights, commentary, and analysis on cloud computing, network infrastructure, cybersecurity, and IT solutions, and should not be considered professional, technical, or legal advice.
All information, articles, and materials presented on this website are for general informational purposes only. Technologies, standards, and best practices may vary depending on specific environments and may change over time. The application of any technical concepts depends on individual systems, configurations, and requirements.
This website is not responsible for any errors or omissions in the content, or for any actions taken based on the information provided. Users are encouraged to seek qualified professional advice tailored to their specific IT infrastructure, security, and business needs before making decisions.