


SSL TLS Port Guide
Understand SSL and TLS port numbers for secure communication. Covers port 443 for HTTPS, 465/587 for email, 993/995 for IMAP/POP3, plus configuration, troubleshooting, and hardening best practices for system administrators

Laptop on a desk with a glowing encrypted VPN tunnel visualization connecting to a remote server rack in dark blue-purple tones
Content
Think of a VPN as a private tunnel for your internet traffic. When you connect, your data gets wrapped in encryption before leaving your device, travels through this secure tunnel to a VPN server, then exits to reach its destination. Anyone snooping on your connection—whether that's your internet provider, the person running the coffee shop WiFi, or a government agency—sees only scrambled nonsense instead of your actual browsing activity.
Here's where people get confused: should you pay for a service like NordVPN, or build your own? Pay a subscription, and you're outsourcing everything—the company maintains servers in 60+ countries, handles software updates, provides customer support when things break, and you just click a button to connect. Build your own VPN server at home, and you're the boss of your data (nobody else can see it), you stop paying monthly fees once setup is complete, and you can tap into your home network from anywhere like you never left your living room.
Companies face different problems entirely. Your sales team needs encrypted access to the CRM database while working from hotel rooms. Your two office locations in different cities need to share files as if they're on the same network. That's where business VPN setups come in—more complex, higher stakes, but solving real operational headaches.
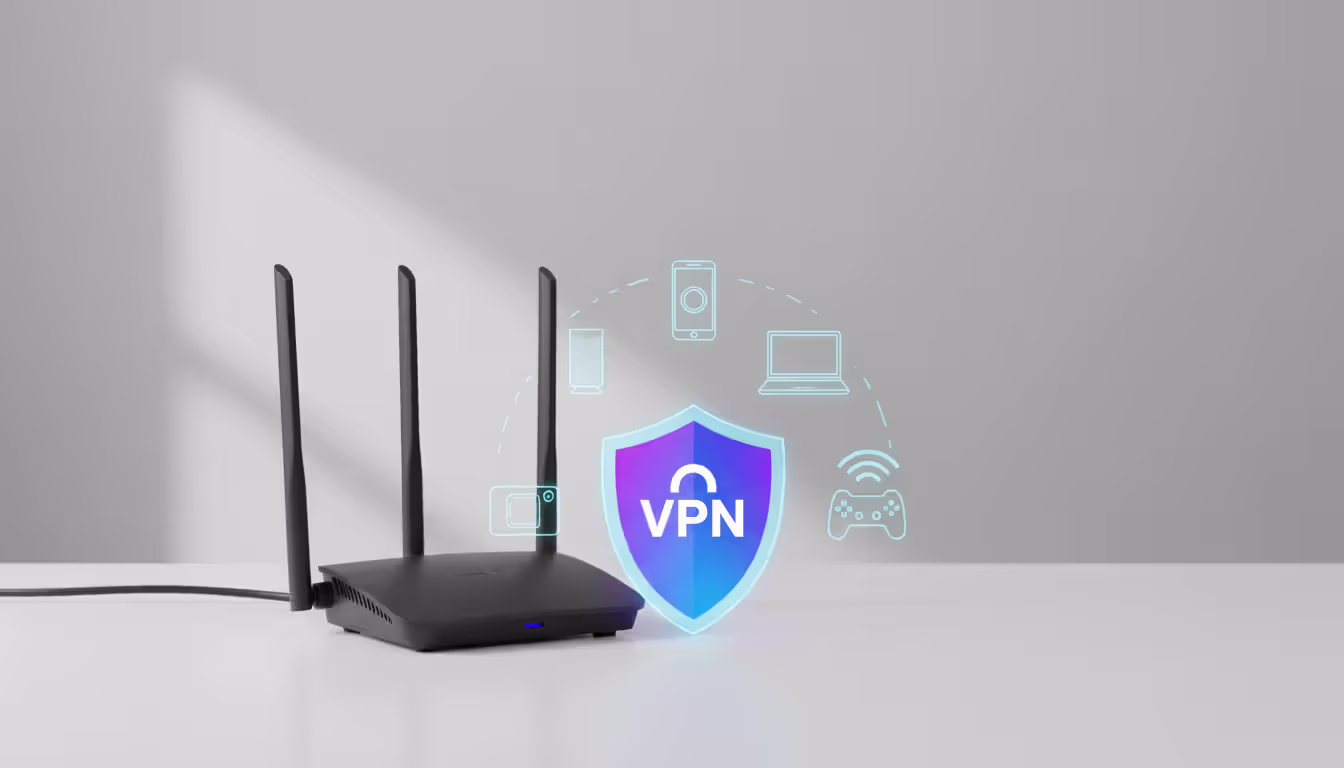
Router-level VPN installation means everything connected to your WiFi gets protected automatically. Your smart TV, your kid's iPad, that sketchy IoT security camera from Amazon—all covered without installing separate apps. The catch? Your router's processor now encrypts every byte of data flowing through it, which can choke bandwidth if you bought a budget router three years ago. Plus you're stuck with one VPN server location unless you want to dig back into router settings every time you need to switch.
Companies screw up by obsessing over which encryption algorithm to use while ignoring the human side. I've seen million-dollar VPN deployments undermined because employees found the two-factor authentication annoying and pressured IT to disable it. Your security policy, your training program, your monitoring—those matter as much as the technology
— Michael Chen
Your $60 router from Best Buy probably won't cut it. Check by logging into your router's admin page (usually by typing 192.168.1.1 into your browser) and poking through the menus for anything mentioning "VPN client" or "OpenVPN." Don't see those options? You're shopping for new hardware.
ASUS routers in their RT series—models like the RT-AX88U or RT-AC86U—ship with VPN client functionality baked right into the firmware. Same deal with Netgear's Nighthawk lineup (the RAX50, the R7000). These work straight out of the box, no firmware flashing required.
Want to resurrect an older router? Custom firmware like DD-WRT or Tomato can add VPN features to devices that didn't have them originally. Before going down this rabbit hole, search for your exact router model on the DD-WRT hardware database. Installing incompatible firmware is a great way to turn a functioning router into an expensive paperweight. You'll need at least 128MB of RAM and a dual-core processor running 1GHz minimum—anything less will make your internet feel like dial-up once encryption kicks in.
Budget $150-$300 for a VPN-ready router. The TP-Link Archer AX50 sits at the affordable end. If you're paying for gigabit internet, spring for something like the ASUS RT-AX86U Pro that can actually handle the encryption overhead without becoming a bottleneck.
Author: Evan Crossfield;
Source: milkandchocolate.net
On ASUS routers with factory firmware, punch in 192.168.1.1 to reach the admin panel. Navigate to the VPN section, then click VPN Client, then Add profile. Choose OpenVPN from the dropdown. Your VPN provider should have given you an .ovpn configuration file—upload that. Type in your VPN username and password. Flip the connection switch to "on" and wait 30 seconds. Pull up whatismyipaddress.com on your phone to verify your IP changed to the VPN server's location.
DD-WRT firmware takes more steps. After you've successfully flashed the firmware (carefully following instructions specific to your router model), access the web interface and head to Services, then VPN. Enable OpenVPN Client. Now comes the tedious part: your VPN provider's website should have a page showing certificates and keys. Copy the CA Cert, Public Client Cert, and Private Client Key into DD-WRT's corresponding text boxes. Enter the VPN server address and port number (usually 1194 for OpenVPN). In the "Additional Config" box, add these two lines:
persist-key
persist-tun
Hit Apply Settings, reboot your router, and cross your fingers.
Here's the part most guides skip: DNS leaks. Even with your router encrypted, devices might still send DNS requests (the "hey, what's the IP address for youtube.com?" queries) through your regular internet provider, leaving a breadcrumb trail of every website you visit. In DD-WRT, go to Setup > Basic Setup and replace the DNS server fields with either your VPN provider's DNS addresses (check their support documentation) or public ones like 1.1.1.1. Check the boxes for "Use DNSMasq for DHCP" and "Use DNSMasq for DNS" to force every connected gadget to use these secure DNS servers.
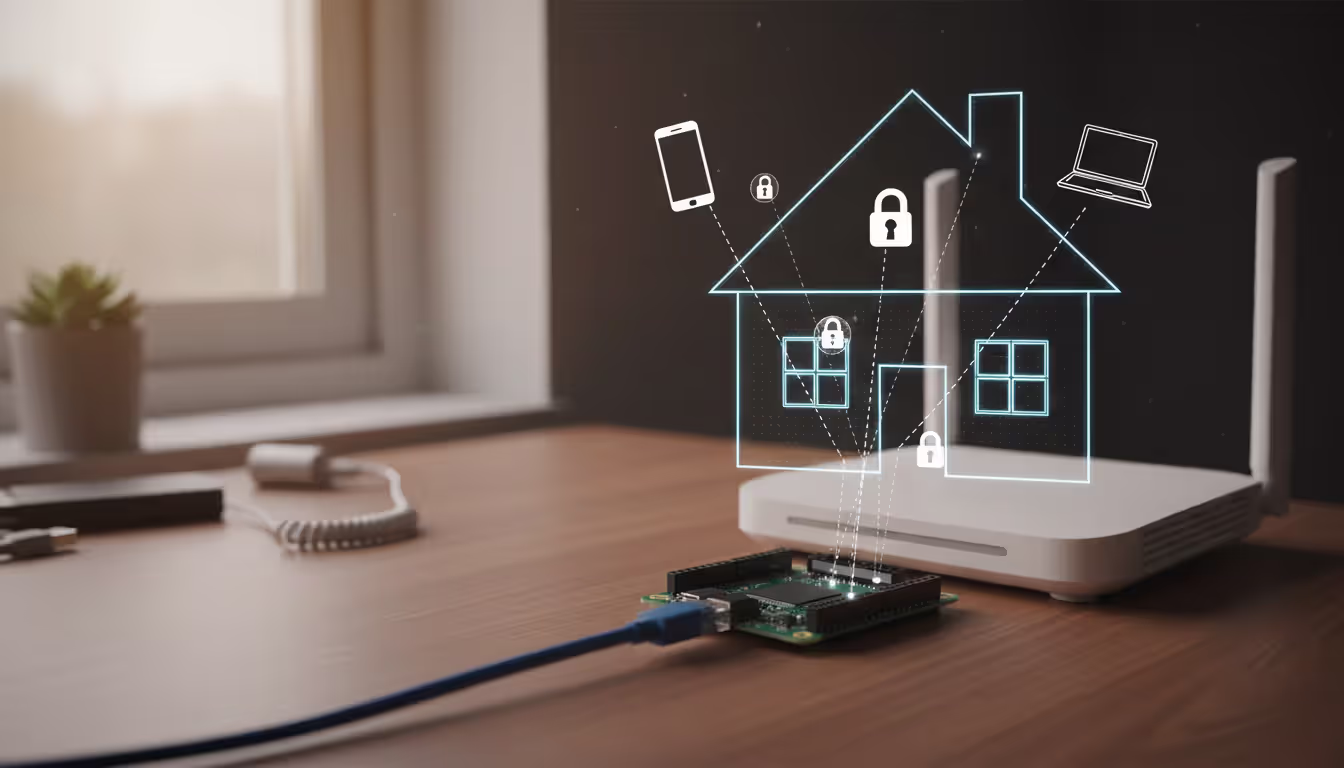
Running your own VPN server makes sense when you need to reach stuff on your home or office network from across the country—that NAS drive with 2TB of family photos, your Plex media server, the security camera feed, the file share with work documents. Unlike subscribing to ExpressVPN which just changes your IP address, a self-hosted server creates a direct encrypted pipe back to your actual network.
Host it on a machine at home (maybe that old laptop collecting dust, a $35 Raspberry Pi, or your Synology NAS), and your only costs are the electricity to run it 24/7—probably $5-$10 yearly. Rent a VPS from DigitalOcean or Vultr for $6-$12 monthly, and you get better uptime (their data centers don't lose power when a squirrel shorts out the transformer in your neighborhood), faster speeds, and you sidestep the problem of streaming services blacklisting residential IP addresses.
Here's the fundamental trade-off: host at home, and you can print to your basement printer from a Starbucks in another state. Host in the cloud, and you're just getting encrypted internet access and IP masking—you can't reach any of your local devices. For remote work where you need inside the office network, cloud hosting doesn't help at all.
WireGuard has basically won the protocol wars as of 2026. It's faster—typically 15-40% better throughput than OpenVPN on identical hardware. The codebase is like 4,000 lines instead of OpenVPN's 400,000, which makes it way easier for security researchers to audit. Modern cryptography means you're not relying on algorithms from the 1990s.
Let's walk through a Raspberry Pi 4 installation running Raspberry Pi OS. First, get the system current:
sudo apt update && sudo apt upgrade -y
Pull down WireGuard's package:
sudo apt install wireguard -y
Generate your server's cryptographic keys:
wg genkey | sudo tee /etc/wireguard/server_private.key | wg pubkey | sudo tee /etc/wireguard/server_public.key
Create the configuration file at /etc/wireguard/wg0.conf using nano or vim:
Address = 10.0.0.1/24
ListenPort = 51820
PrivateKey = [paste your server's private key here]
PublicKey = [you'll add client public keys here later]
AllowedIPs = 10.0.0.2/32
Enable IP forwarding so your Pi can route traffic properly. Edit /etc/sysctl.conf and add this line:
net.ipv4.ip_forward=1
Apply the change immediately:
sudo sysctl -p
Fire up WireGuard:
sudo wg-quick up wg0
Make it start automatically on boot:
sudo systemctl enable wg-quick@wg0
Now the critical part everyone forgets: port forwarding on your router. Log into your router's admin panel (check the sticker on the router for the address and password if you've never logged in). Find the port forwarding section—it might be under "Advanced," "NAT," or "Firewall." Create a new rule forwarding UDP port 51820 to your Raspberry Pi's local IP address (something like 192.168.1.50). Without this step, VPN connection attempts from outside your network hit your router's firewall and die.
Your home internet connection probably doesn't have a static IP—your ISP changes it every few days or weeks. Dynamic DNS services like DuckDNS or No-IP solve this. Sign up for a free account, create a hostname (maybe myhouse.duckdns.org), then install their update client on your Raspberry Pi. This tiny program pings DuckDNS every few minutes saying "hey, my current IP is 73.45.210.88" so the hostname always points to your home.
For client devices, generate a separate key pair:
wg genkey | tee client_private.key | wg pubkey > client_public.key
Create a client configuration file (clients need this to connect):
PrivateKey = [paste client's private key]
Address = 10.0.0.2/24
PublicKey = [paste your server's public key]
Endpoint = myhouse.duckdns.org:51820
AllowedIPs = 0.0.0.0/0
PersistentKeepalive = 25
That AllowedIPs = 0.0.0.0/0 line routes everything through your VPN. Change it to just 10.0.0.0/24 if you only want to access home network devices while leaving your regular internet traffic alone (better for streaming without getting blocked).
Author: Evan Crossfield;
Source: milkandchocolate.net
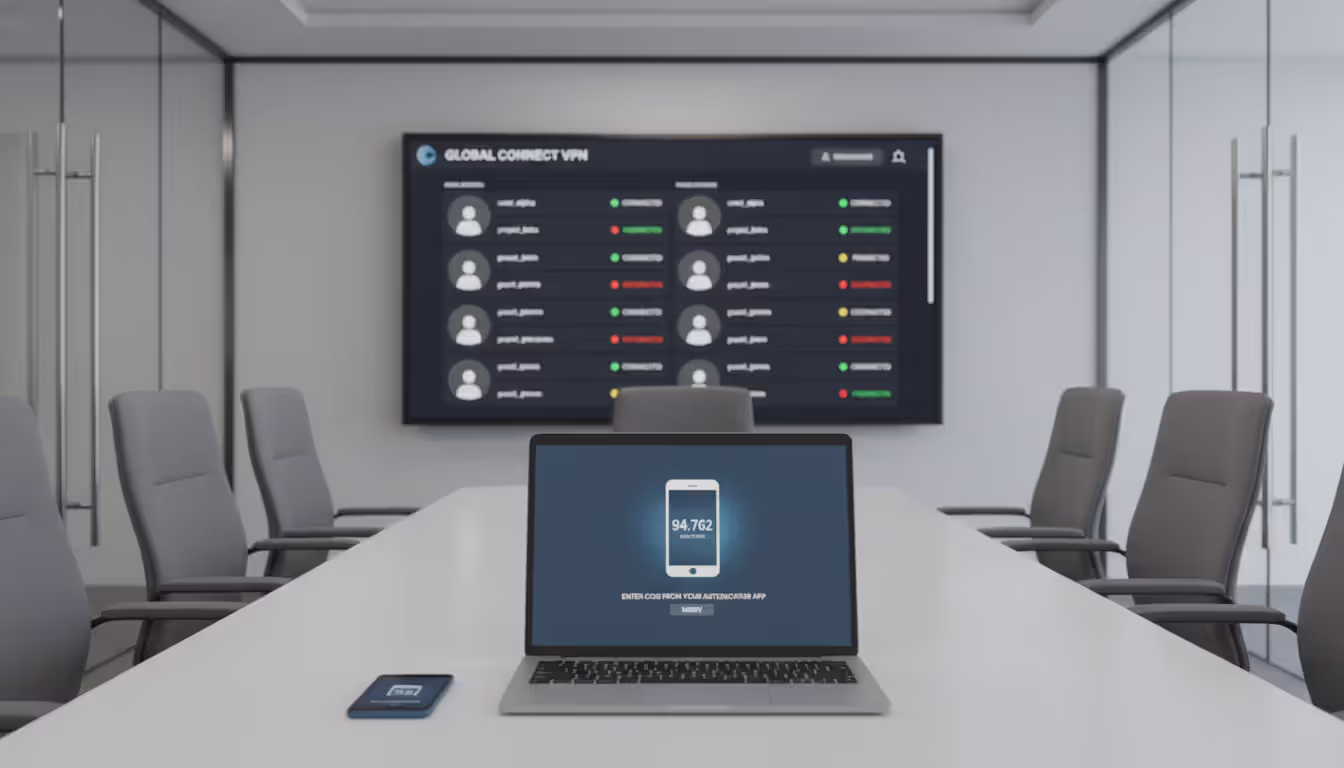
Business VPNs aren't just bigger versions of home setups—they're fundamentally different beasts. You need user management (when Sarah from accounting quits, you need to revoke her access immediately), detailed logs (for compliance audits and security investigations), guaranteed uptime (your business stops when the VPN goes down), and often connections between multiple office locations.
Start by listing who needs to reach what. Your sales reps traveling constantly need secure access to Salesforce and email. Your development team working remotely needs to hit internal code repositories and staging environments. The finance folks only need VPN access during month-end close and tax season.
Split tunneling changes the game for performance. Why route a sales rep's Spotify stream through your office internet connection? Configure the VPN to only send traffic destined for your company network (let's say 192.168.10.0/24) through the tunnel. Everything else—YouTube, Gmail, random web browsing—goes directly through the employee's normal internet connection. Reduces your bandwidth costs and speeds up their experience.
Site-to-site VPNs link entire office networks together. Your headquarters in Chicago and your warehouse in Phoenix operate as one unified network. Employees at either location can access servers, printers, and network drives at both sites like they're local. This requires VPN-capable routers or dedicated hardware appliances at each site, configured to establish permanent encrypted tunnels between locations using matching encryption settings and pre-shared keys.
For companies with 5-15 people connecting remotely, a Ubiquiti UniFi Dream Machine Pro ($379) or a PC running pfSense as a firewall handles VPN duties alongside regular network security. The Dream Machine starts struggling around 100 simultaneous WireGuard connections—CPU usage spikes and throughput tanks.
Bigger deployments with 50+ people connecting at once need dedicated VPN concentrators like Cisco's ASA 5506-X or Fortinet's FortiGate 60F. These boxes have specialized chips that handle encryption in hardware instead of burdening your main CPU. Expensive (think $1,200-$3,000), but they won't become bottlenecks.
Cloud-based alternatives like Tailscale or Twingate flip the architecture. Instead of everyone connecting to a central server (which becomes a single point of failure), they create direct peer-to-peer encrypted tunnels between devices. Setup is stupid simple: install their agent, authenticate through your existing Google Workspace or Microsoft 365 accounts, define access policies in a web dashboard. No port forwarding, no hardware appliances, no networking expertise required. Starts around $5 per user monthly.
Authentication deserves obsessive attention in business contexts. Force two-factor authentication for every VPN account—no exceptions, even for executives who complain. Certificate-based authentication (where each device gets a unique cryptographic certificate instead of a password) is significantly more secure since there's nothing for employees to write on sticky notes or share with their spouse who also needs to log in real quick.
Author: Evan Crossfield;
Source: milkandchocolate.net
Most home users should just subscribe to NordVPN or Surfshark instead of hosting their own server. The process takes minutes: pay the subscription ($3-$10 monthly depending on deals), download their app to your phone or computer, log in, tap connect. Done. This works great if your goal is hiding browsing history from your internet provider or securing your connection at airports and hotels.
Router installation (described earlier) makes sense when you want to protect devices that can't run VPN apps—smart TVs, PlayStation consoles, Ring doorbells, Nest cameras. The gotcha: Netflix and other streaming services maintain blacklists of known VPN server IP addresses and block them. Install a VPN on your router, and your TV might suddenly lose access to your streaming libraries. The workaround requires DD-WRT or Tomato firmware and some networking chops: configure the router to exclude specific devices (like your TV) from the VPN tunnel, letting them connect directly to the internet while everything else stays protected.
Families with kids benefit from router-level setup because parents don't have to worry about whether VPN apps are running on every iPad and phone. Kids can't accidentally disable the protection or connect to sketchy public WiFi without the VPN active.
Expect your internet speed to drop 10-30% with commercial VPNs. That overhead comes from encryption processing and the physical distance to VPN servers. Your 500 Mbps connection might deliver 350-400 Mbps through a VPN server 1,000 miles away. Self-hosted VPNs connecting back to your home network don't reduce speeds this way because you're using your own internet connection's upload bandwidth, not routing through a third party's server.
Author: Evan Crossfield;
Source: milkandchocolate.net
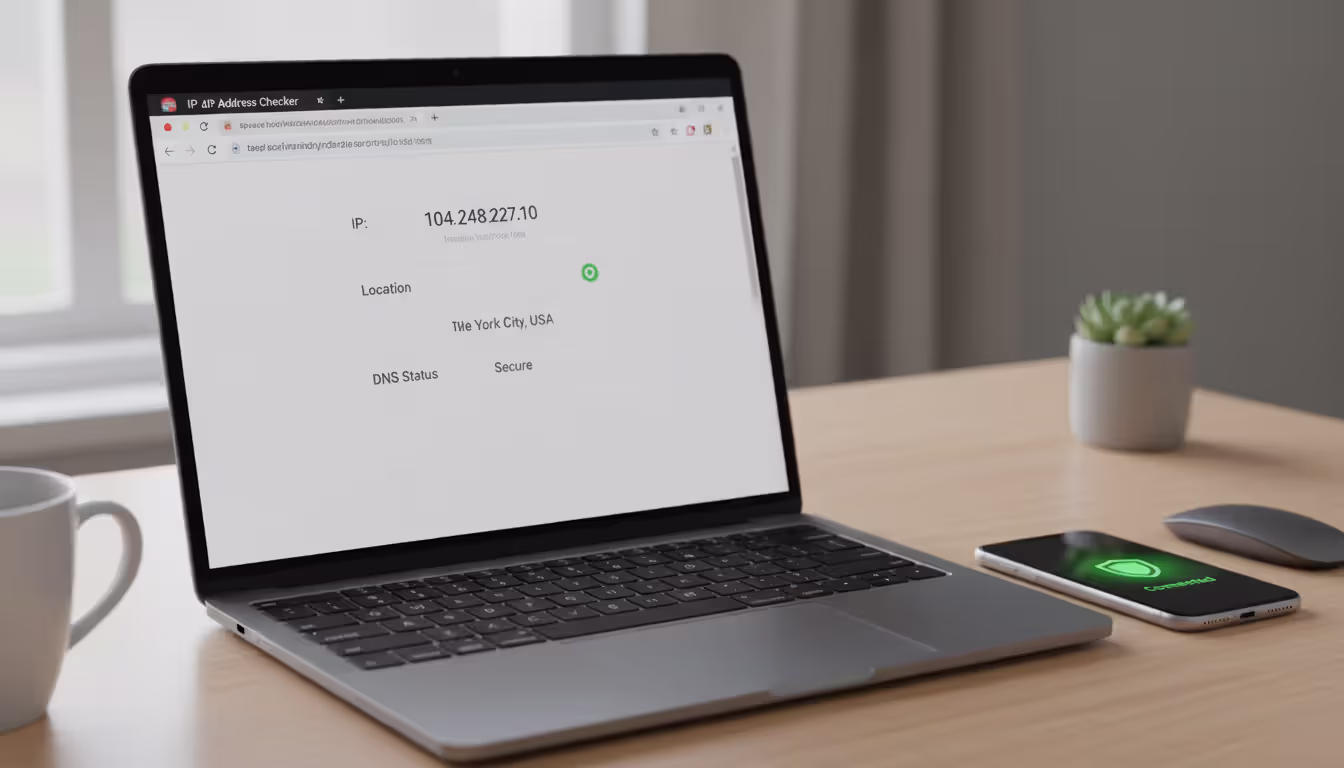
DNS leaks top the list of configuration failures. You're connected to your VPN, feeling secure, but your device still sends DNS queries—the requests that translate "amazon.com" into an IP address—through your regular internet provider's servers. Your ISP can see every website you visit even though your connection is encrypted. Test this at dnsleaktest.com immediately after setup. If you spot your ISP's name instead of your VPN provider's DNS servers, you need to manually configure DNS settings on your device or router.
Weak encryption undermines the entire point. Some ancient VPN protocols—PPTP especially, and L2TP/IPsec to a lesser extent—have documented vulnerabilities that make them breakable by determined attackers. Stick with WireGuard or OpenVPN configured with AES-256 encryption. If your router only supports PPTP, that's not a fixable configuration issue—you need different hardware.
Kill switch failures create dangerous gaps in protection. A kill switch is a safeguard that blocks all internet traffic if your VPN disconnects unexpectedly, preventing your device from sending unencrypted data. Without it, your laptop or phone might happily continue transmitting in the clear for minutes or hours after the VPN drops without you noticing. Commercial VPN apps include kill switch toggles—turn them on. For router-based VPNs, this requires firewall rules that only allow traffic through the VPN interface, blocking everything if the tunnel goes down.
Port forwarding mistakes: opening more ports than necessary exposes attack surface. If you're running a WireGuard server, only forward UDP port 51820 (or whatever custom port you chose). Don't forward anything else. Definitely disable UPnP (Universal Plug and Play) on your router—this "convenience feature" lets any device on your network automatically punch holes through your firewall without asking permission first.
Testing failures: assuming everything works without actually checking. After completing your setup, visit ipleak.net and verify your IP address changed, your DNS queries go through the correct servers, and WebRTC isn't leaking your real IP. If you configured remote access, try reaching a device on your home network using its local IP address. Intentionally disconnect your VPN to confirm the kill switch actually blocks traffic like it should. Better to discover problems during testing than when you actually need the security.
| Approach | Ideal Users | Difficulty Level | Price | Time Investment | Advantages | Drawbacks |
| Subscription Service | People wanting privacy, streaming access, public WiFi security | Beginner-friendly | $3-$10/month | 5-10 minutes | Zero technical knowledge needed, servers worldwide, 24/7 support team | Ongoing monthly cost, trusting a company with your data, inconsistent speeds |
| Router Installation | Households protecting all devices, IoT gadget security, families | Intermediate | $0-$300 (hardware cost) | 1-2 hours | Every device protected automatically, no per-device setup | Slows your internet, server switching is tedious, breaks streaming services |
| DIY Home Server | Remote access to your own network, maximum privacy control | Advanced | $0-$50 (hardware) | 3-6 hours | You control everything, no recurring fees after setup, access home devices remotely | Requires technical comfort, you handle maintenance, limited to home connection |
| Rented Cloud Server | Privacy seekers who don't need home network access, reliability | Advanced | $5-$12/month | 2-4 hours | Better uptime than home hosting, typically faster speeds | Still needs technical skills, monthly fees, can't reach local devices |
| Enterprise Solution | Organizations with remote workers, multi-site connectivity | Expert | $500-$5,000+ | Days to weeks | Centralized control panel, compliance tools, vendor support | High cost, demands IT knowledge, complex deployment |
The gap between the easiest and hardest VPN setups is massive—five minutes on one end, multiple days on the other. Home users chasing privacy should lean toward commercial VPN subscriptions. Yeah, you're paying monthly, but for most people the simplicity justifies the cost. Router installation makes sense if you've got a household full of devices or want network-wide protection for your family, though you're taking on significantly more technical complexity.
Self-hosting a VPN server delivers unmatched control and enables remote access to your actual home or office network, but you'd better be comfortable troubleshooting network issues via command line at 11 PM when something breaks. Small businesses need to carefully evaluate whether they need straightforward remote access (where cloud platforms like Tailscale shine) or complex multi-site connectivity that demands dedicated hardware appliances.
Whichever route you pick, proper testing and security hardening matter more than the specific VPN protocol or provider brand you chose. A perfectly configured VPN with "password123" as the login or a disabled kill switch gives you false security while solving nothing. Invest the time to verify everything works correctly—check for DNS leaks, enable two-factor authentication everywhere it's available, and document your configuration so you're not starting from scratch when you need to troubleshoot six months from now. That hour of testing and hardening prevents countless hours of frustration and genuine security incidents down the road.
Understand SSL and TLS port numbers for secure communication. Covers port 443 for HTTPS, 465/587 for email, 993/995 for IMAP/POP3, plus configuration, troubleshooting, and hardening best practices for system administrators
Self hosted cloud storage puts you in complete control of your data. This guide explains what self hosting means, compares costs against commercial services, reviews popular platforms like Nextcloud and Syncthing, and walks through setup steps for building your own private cloud in 2026

Remote work demands more than enabling RDP. This comprehensive guide covers secure remote desktop implementation, from choosing the right platform to configuring multi-factor authentication, encryption, and monitoring. Learn the differences between remote desktop and VPN, avoid common security mistakes, and follow step-by-step setup procedures

Discover how to scan your network for connected devices and IP addresses. This comprehensive guide covers built-in tools, desktop software, mobile apps, and online scanners with step-by-step instructions for identifying every device on your home or office network
The content on this website is provided for general informational purposes only. It is intended to offer insights, commentary, and analysis on cloud computing, network infrastructure, cybersecurity, and IT solutions, and should not be considered professional, technical, or legal advice.
All information, articles, and materials presented on this website are for general informational purposes only. Technologies, standards, and best practices may vary depending on specific environments and may change over time. The application of any technical concepts depends on individual systems, configurations, and requirements.
This website is not responsible for any errors or omissions in the content, or for any actions taken based on the information provided. Users are encouraged to seek qualified professional advice tailored to their specific IT infrastructure, security, and business needs before making decisions.